I remember when I played Super Mario Brothers for the first time. It was amazing, and so different than earlier video games. It’s even more fun that Mario and friends are still popular with kids these days. So when my Mario-obsessed 8-year-old wanted a birthday party, we knew the theme right away — a Mario Brothers Birthday Party! In this post, We’ve got ideas for invites, decorations, games and food. Plus, get our free printable for it all. Read on for more.
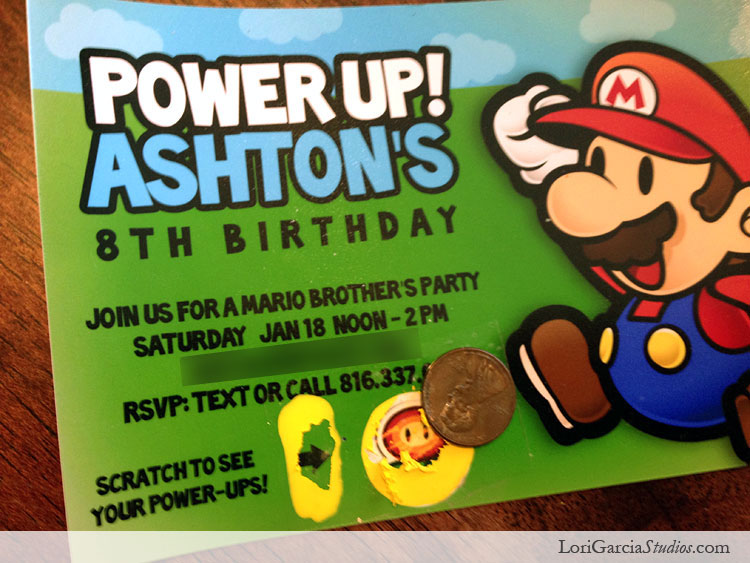
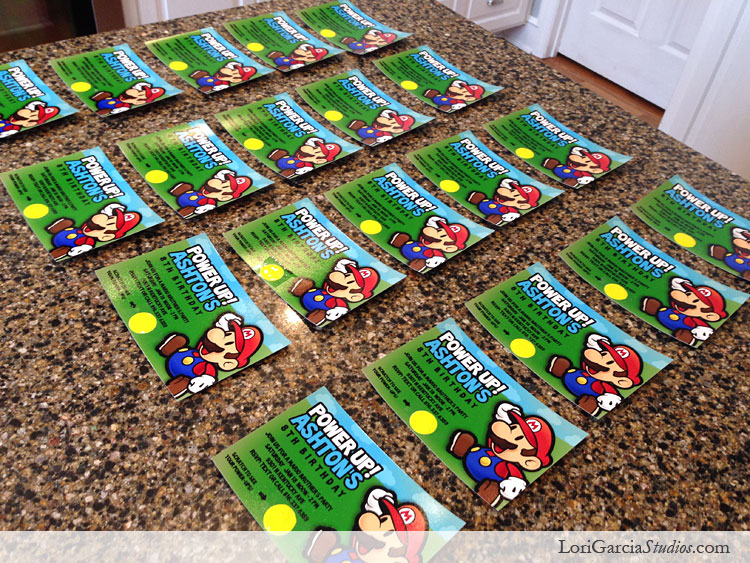
I created these invitations in Photoshop and to make them more fun, I added a scratch-off section. Under the scratch-off revealed how many extra-life mushrooms they had.
To Make the Scratch-Offs
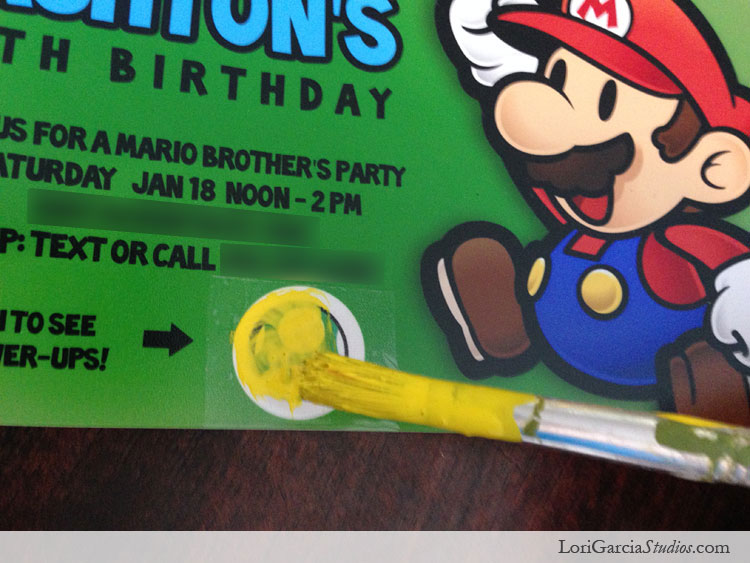
1. Place a piece of clear, packing tape over the section that you’ll scratch off.
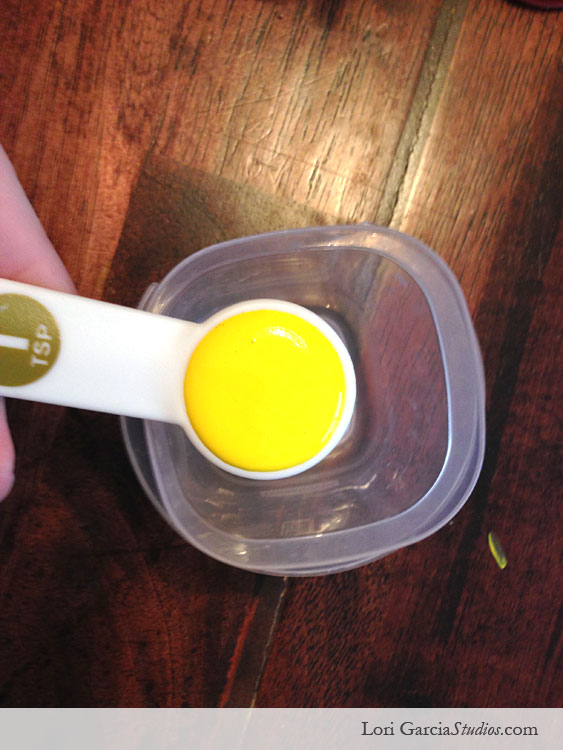
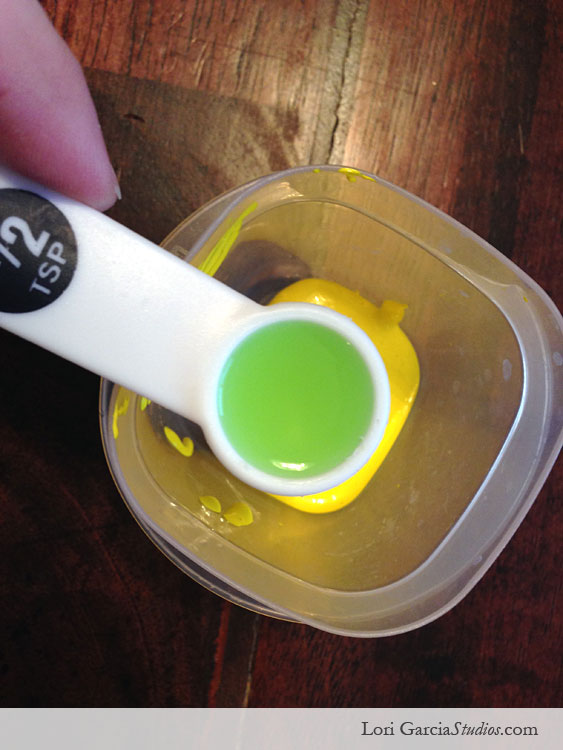
2. In a small dish, mix a teaspoon of craft paint with 1/2 teaspoon of dish soap (or a 2/1 ratio if you scale it). Mix it well.
3. Paint the mixture over the words/images you want concealing, making sure you stay on the packing tape you placed earlier. Paint enough to completely cover your item.
4. Once it’s dry, you will be able to scratch it off with a coin. Kids love doing this, and will love the element of surprise to see what’s underneath.
Making the Table Decorations
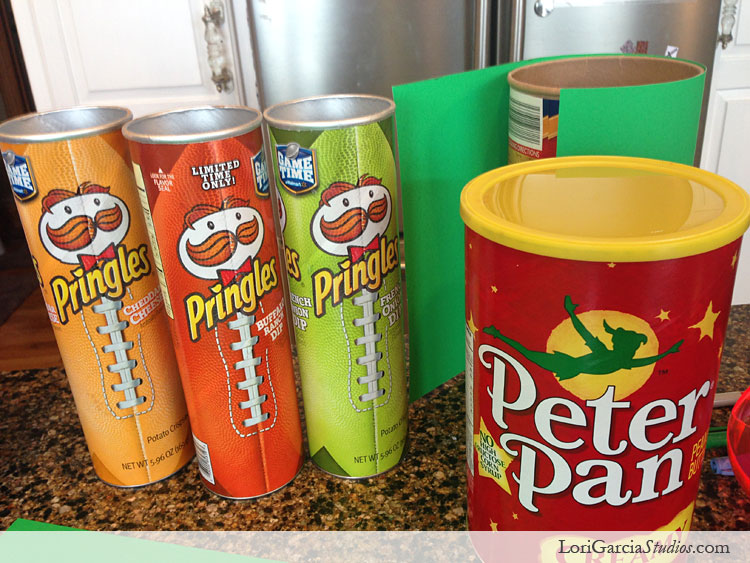
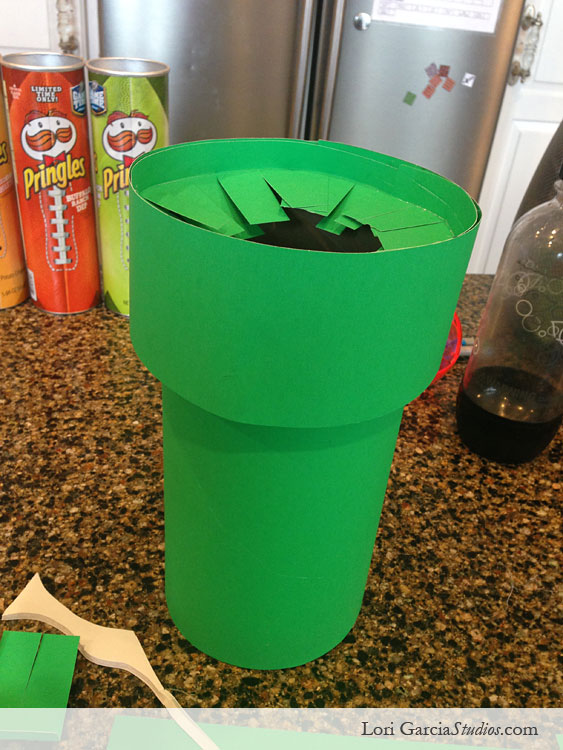
Pipes DIY
1. If you’re making decorations for a Mario Brothers Party then you better have pipes! I started by gathering various long cans and wrapping them in kelly green card stock, attaching with hot glue.
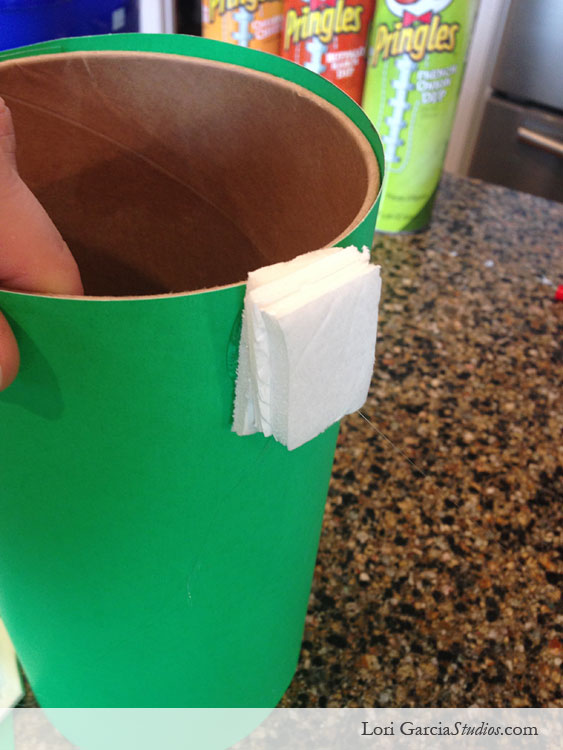
2. Next, we want to make the collar of the pipe. Make them stick out, by adding foam core around the top. Here, I added three squares of foam board to the edge with hot glue. I did this three other places around the rim.
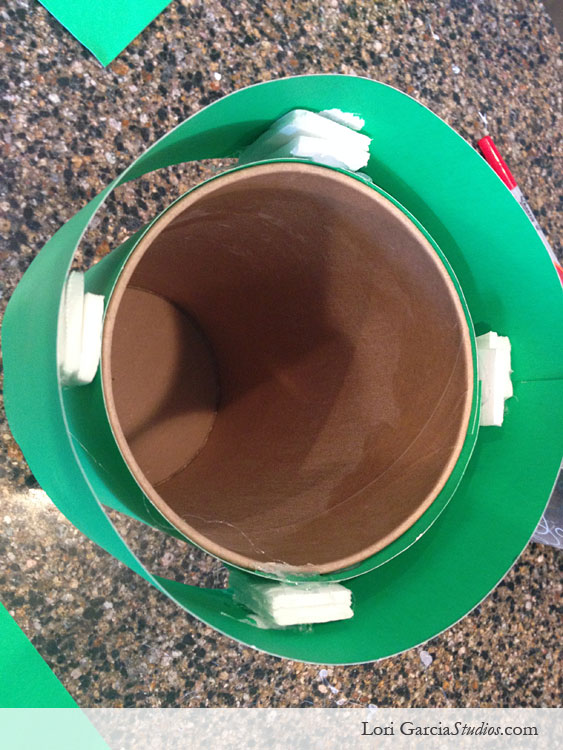
3. Using craft scissors, cut more card stock to make the collar of the pipe. Hot glue it on top of foam core. This is what it will look like.
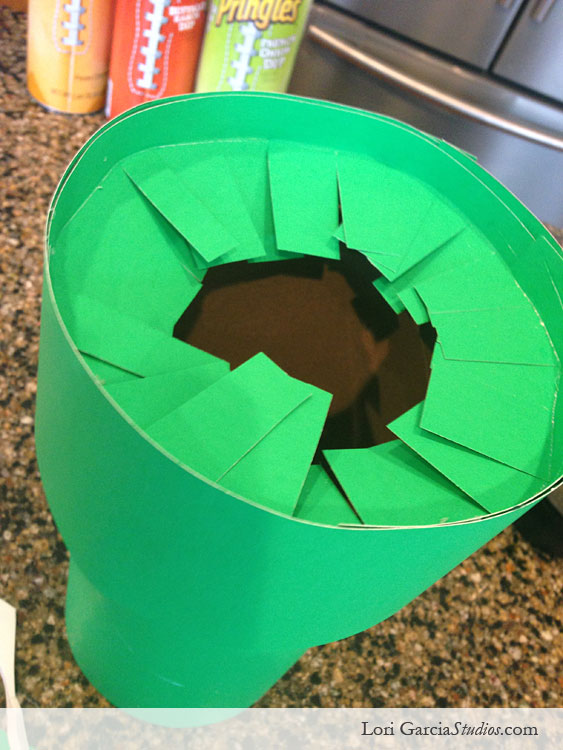
4. Cut another strip of card stock, similar to the collar size. Score the card stock about 1/4 inch along one side and bend. Since you’re going to mold this piece into a circle, cut the salvage edge up to the fold as seen in the picture. Then hot glue this piece to the inside of your pipe to hide the inside. To finish the pipe, glue a circle of black card stock to the top.
5. And there’s your finished pipe (minus the black circle, I forgot to take pictures of that). To make pipes similar to my table scape, you’ll want to make two more smaller pipes out of chip cans.
Venus Fly Trap Plant DIY
1. To make the venus-fly-trap-looking plant that comes out of the main pipe, I cut an opening out of a rubber ball.
2. Wrap the ball in red felt and hot glue to secure, folding as you go. You’ll place any extra fabric inside the opening of the ball, and glue to secure.
3. Cut white strips of felt for the mouth of the plant and secure with hot glue.
4. Cut circles out of the white felt and attach with hot glue.
5. Take a kraft knife or scissors and make a small hole in the bottom of the plant that will fit a dowel. Stick your dowel, of which you previously painted with green craft paint, into this hole and secure with a generous amount of hot glue.
6. Attach leaves to the dowel with hot glue. (See cutout instructions below to see how I mounted and cut them out of foam core.)
7. Punch a hole in the black card stock at the top of the pipe and push the plant into it. You may need to secure it with additional hot glue.
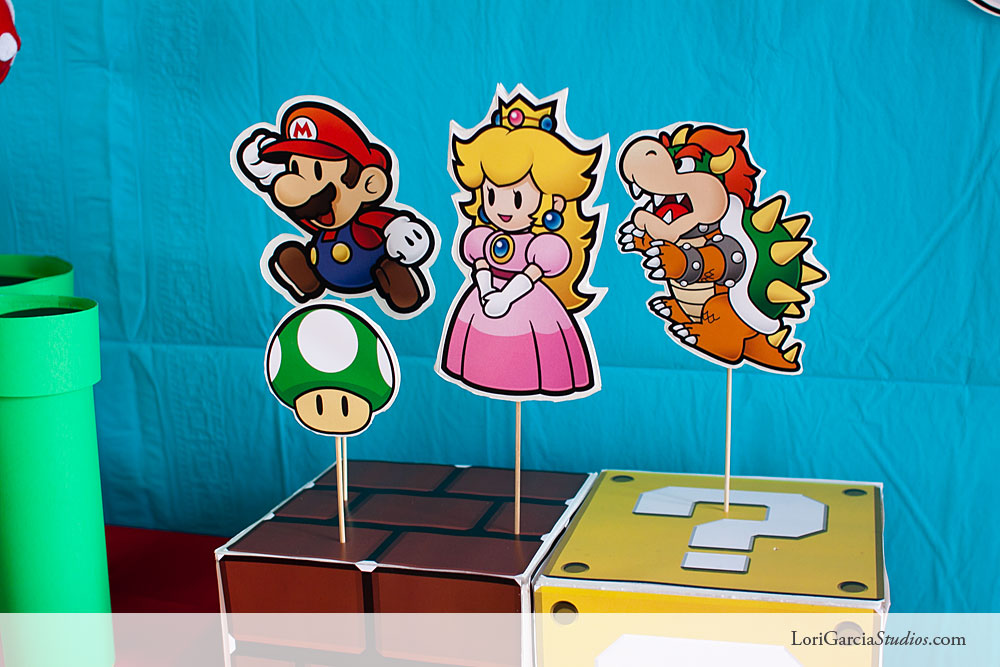
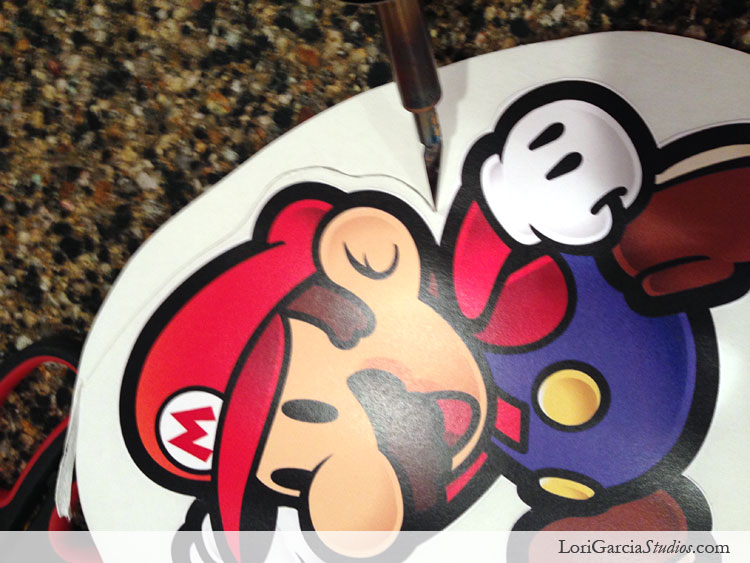
Character Cutout DIY
You may not be able to tell from this picture, but these character cutouts are actually on foam core. This extra width makes them fun and look professional, even though you made them at home.
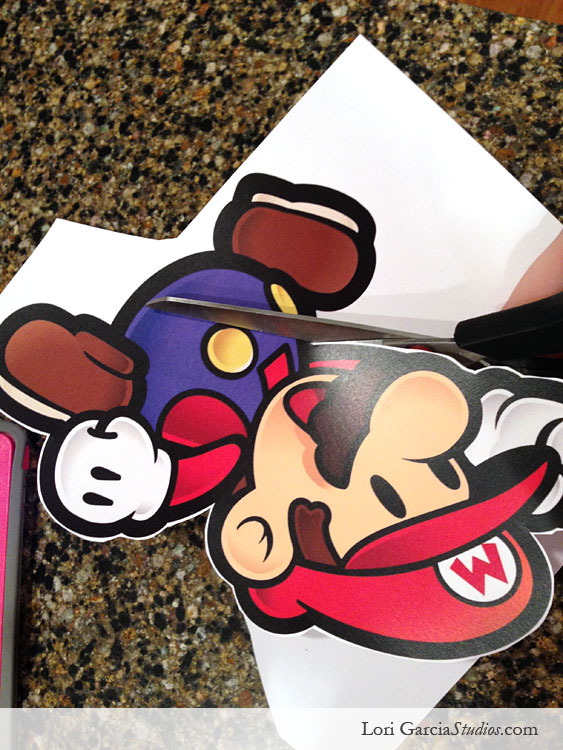
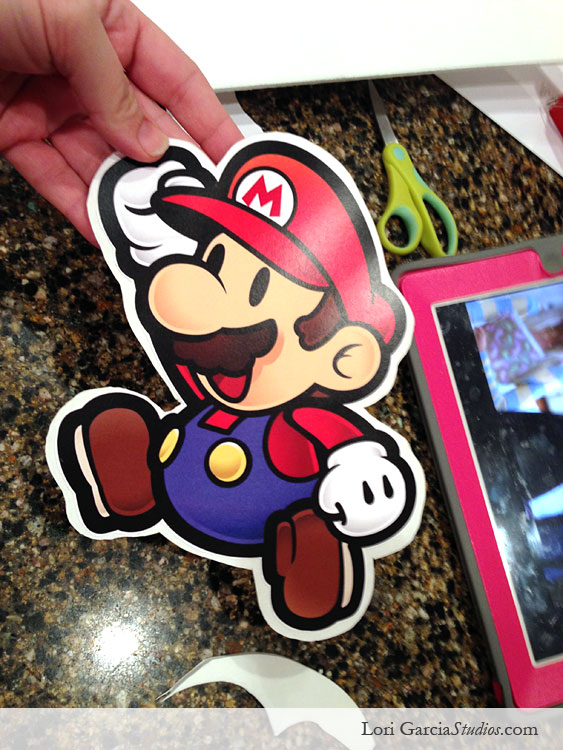
1. Print out Mario Brothers graphics. I found lots of high quality ones online, including these free vector graphics. Cut them out. I like a little white space around them. I think it looks cute and it’s much faster than cutting them out perfectly.
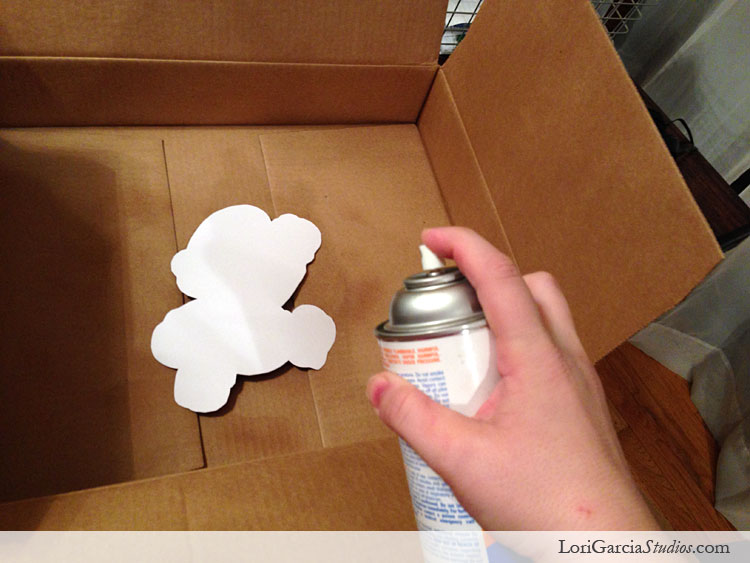
2. Spray the back of the cutout with spray adhesive. Note: If you’re new to spray adhesive, know that it can get EVERYWHERE. The worst for me was getting it in my hair — I’m looking at you family tree project in college! — so I always wear my hair up when I use spray adhesive. You’re welcome! Another tip is to use a box to spray your items in so that you don’t get spray everywhere…on your table, countertops or floors.
3. Adhere the cutout to foam core. (Tip, you can get foam core at the dollar store! While it is definitely cheaper than the craft store, it is usually not as thick. If you like thick foam core, and don’t mind spending more, buy it at the craft store — with a coupon of course!)
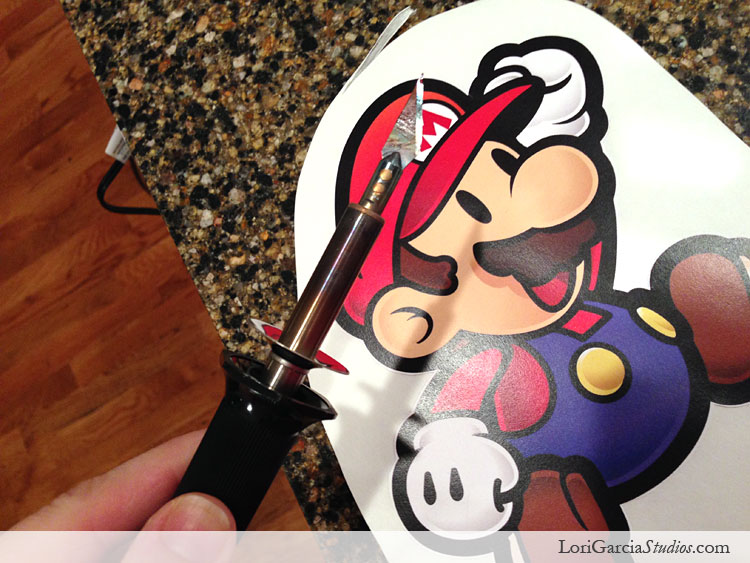
3. Now we get to my new best friend — the hot knife. I first saw this when my friend Mandy from SugarbeeCrafts used it to make foam picture frames. I immediately messaged her to find out where to get it. I found this one at Michaels and used my 40% off coupon to make it about $10. Just like it sounds, it is a knife that heats up. This allows you to easily make curved cuts in foam core. It has been a game-changer for me in crafting, and I use it all the time! As with all things with heat, and are sharp, please use caution.
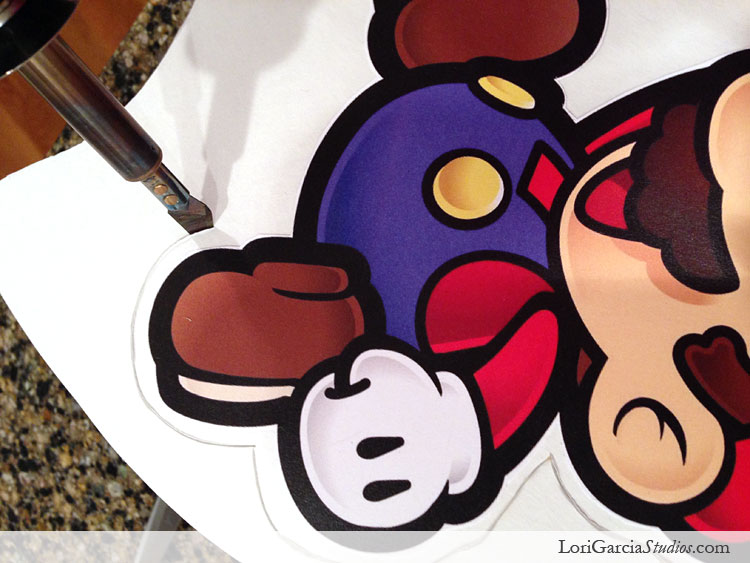
4. Go slowly, allowing the heat to do much of the work. Curve the knife around the Mario cutout. It should cut smoothly like butter!
I have found that it’s easier to cut just the foam core, not the paper and the foam core. That means you’ll want to cut outside the paper cutout shape, so the knife is only cutting through the foam core. The knife should be easily through the foam. If you move too slow with your hot knife, though, you can burn the foam core, so you’ll want to find a happy medium between going too fast or too slow.
Note: if you every notice that it’s hard to cut through the foam core, make sure the knife didn’t get accidentally unplugged, as lack of heat will make cutting too hard. Also, after a couple of projects, the blade will need to be replaced. You’ll know it’s time when it becomes difficult to cut.
5. And there we have our adorable cutout with a thick foam core back. This foam core back makes him more sturdy and perfect for decorating our table and backdrop.
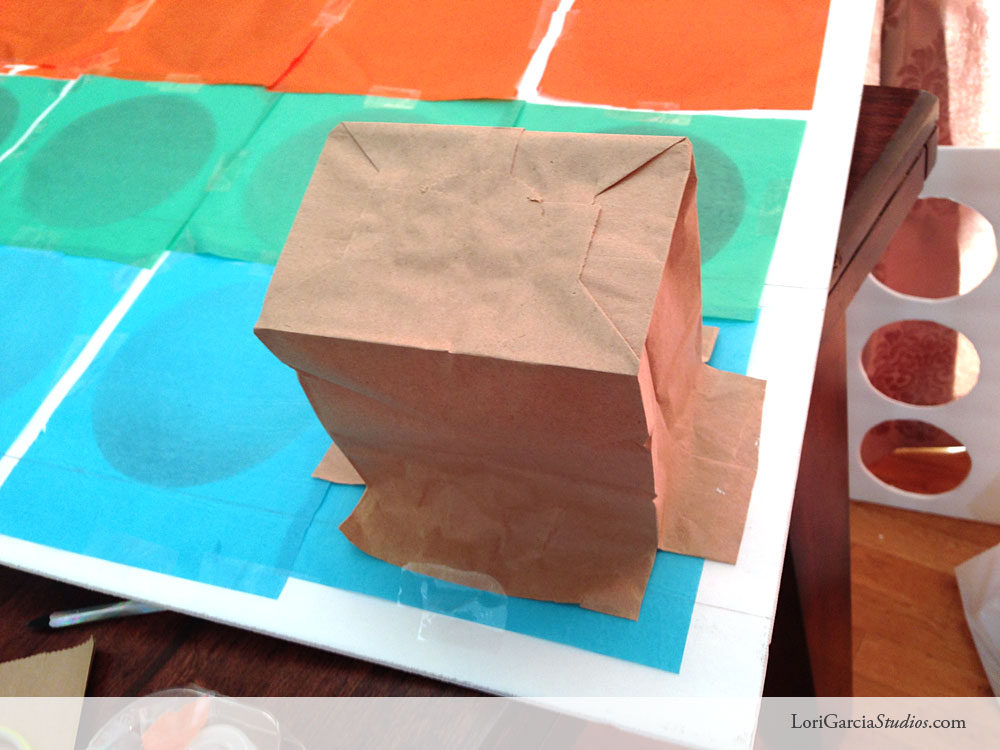
To use in the table decorations, I hotglued a sharp skewer (like the kind used for bbqs) with the sharp end down. Then I punched the skewer into a foam core box I had created to look like a Mario Brother’s block.
6. For the backdrop, I simply stuck them on the paper backdrop with packing tape.
Making the Games
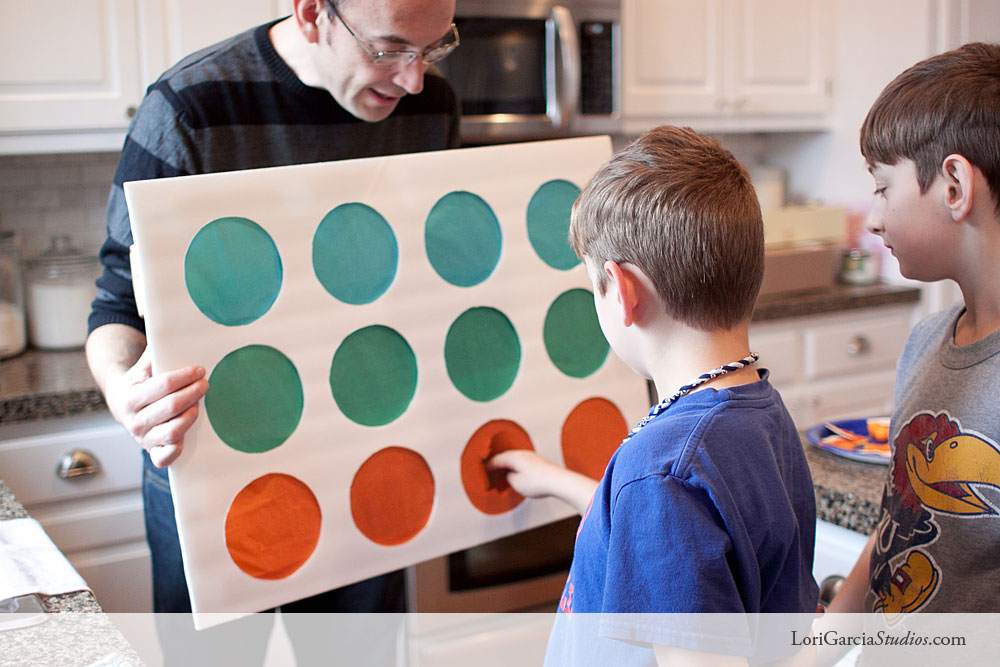
Punch Board DIY
Birthday parties are nothing without games. I like a mix of simple games — musical chairs — with a few elaborate ones. The punch board never disappoints, and the foam core frame is sturdy enough to use over and over.
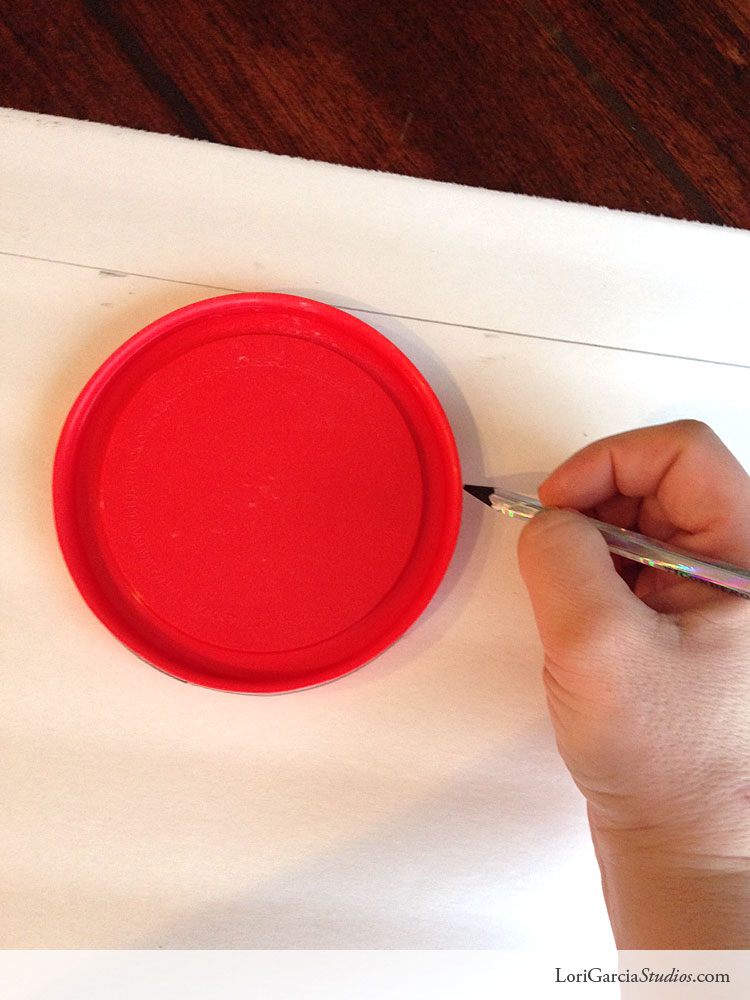
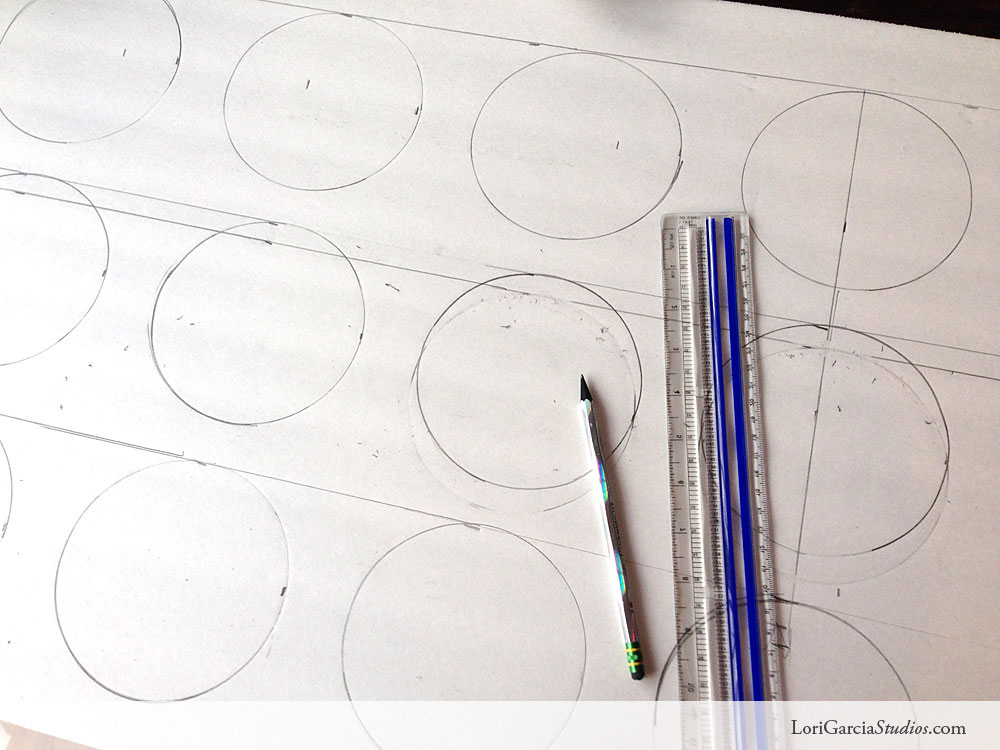
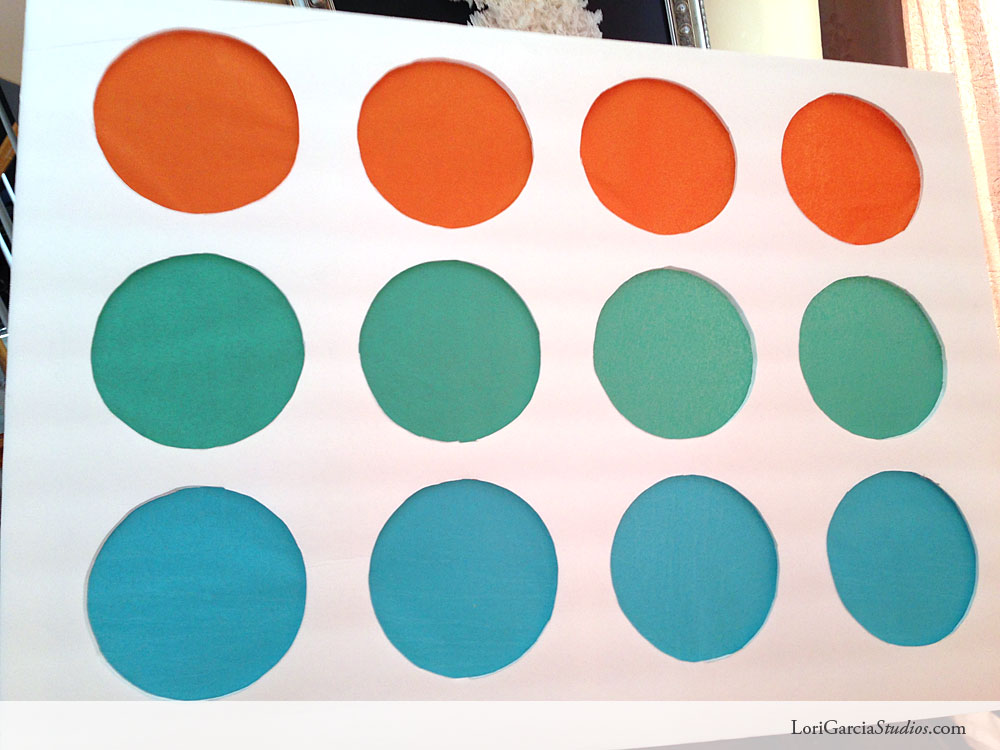
1. Start by tracing circles onto foam core. You can eyeball it or you can measure to align them perfectly.
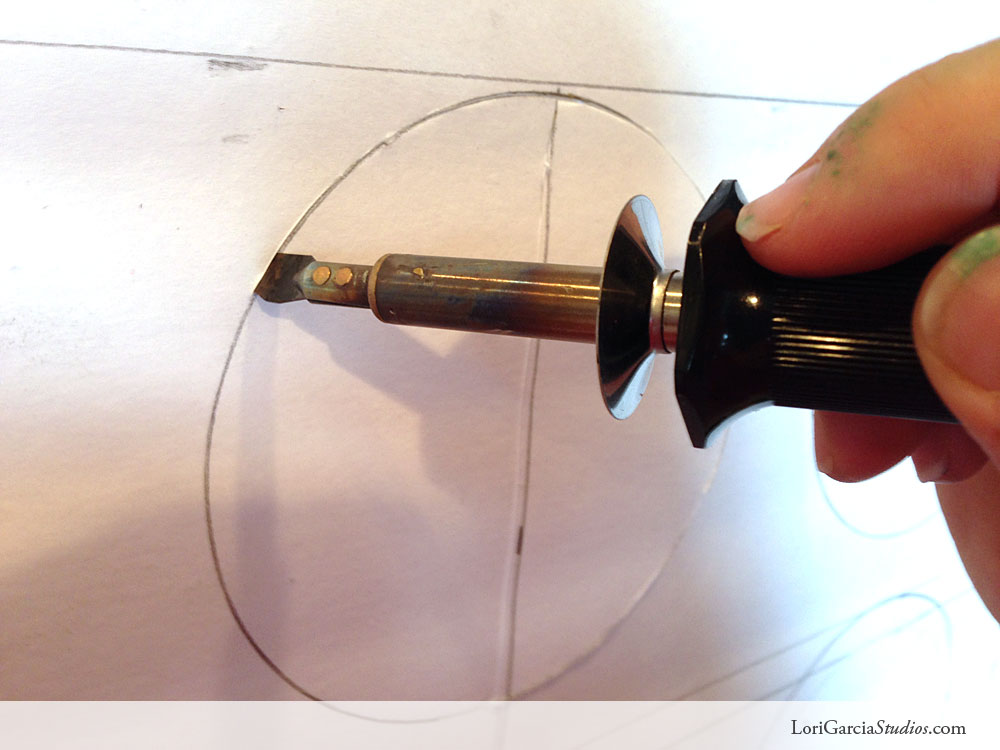
2. This is where that hot knife is really so versatile! We will use it to easily cut out these circles as well. You can do it with just a craft knife, but the hot knife does it so much easier and perfectly.
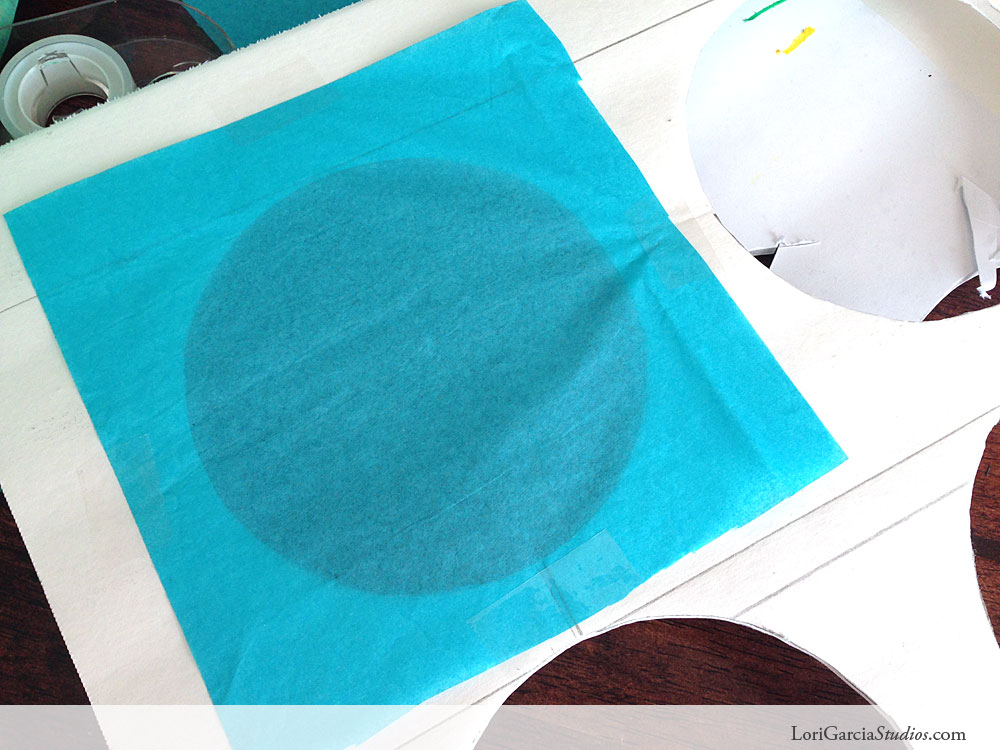
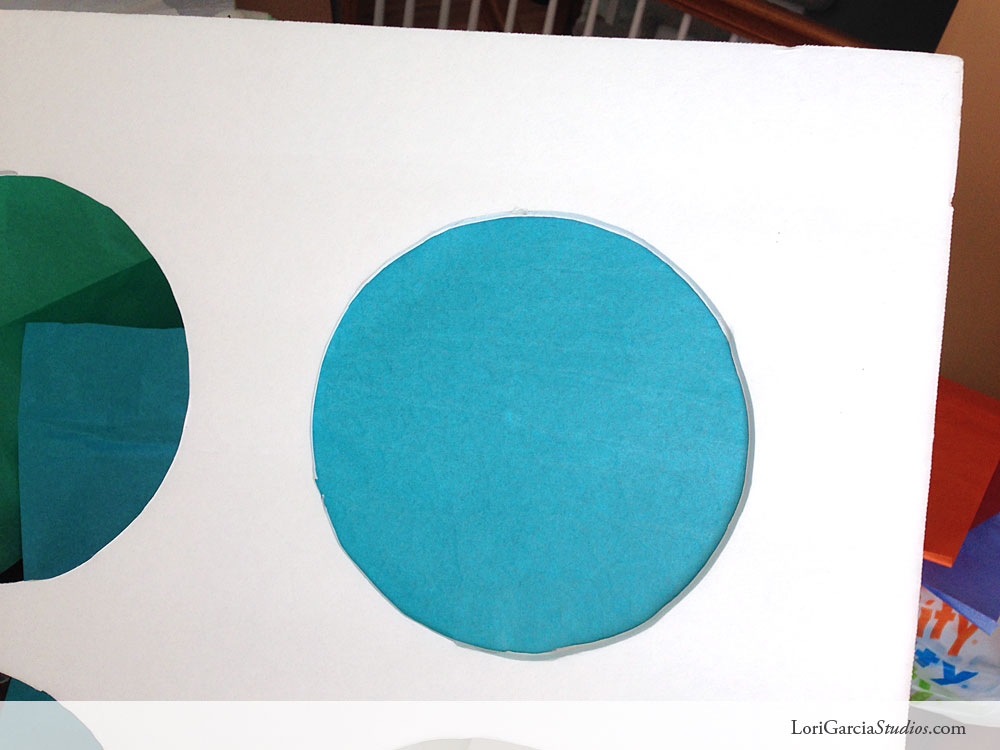
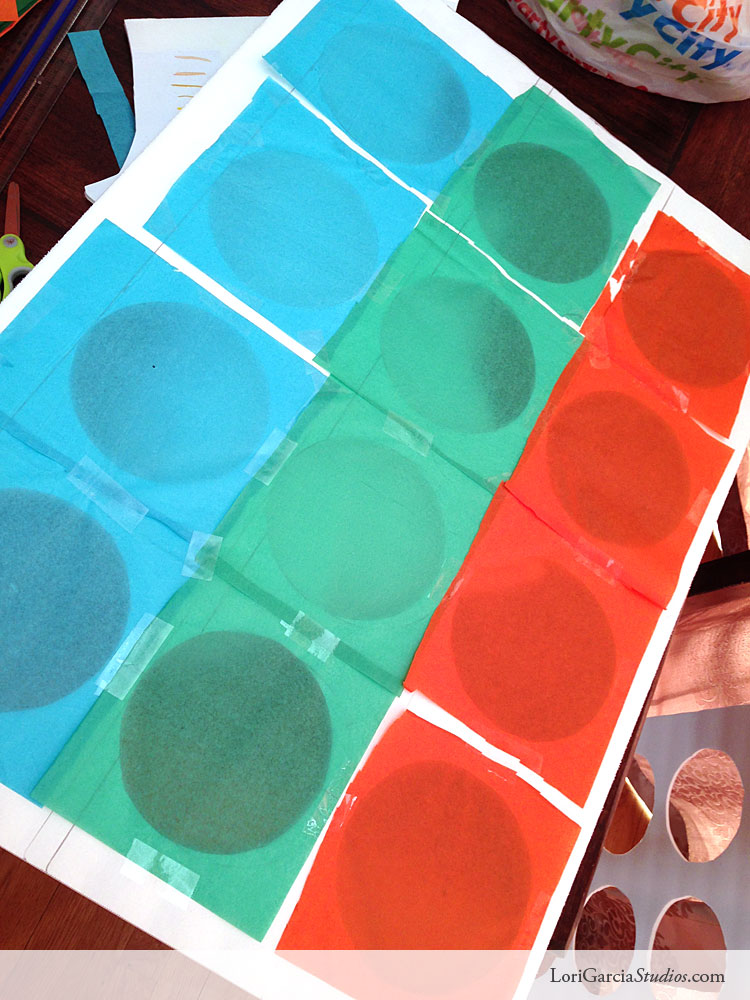
3. Cut out squares of tissue paper and tape to the back of the punch board with scotch tape.
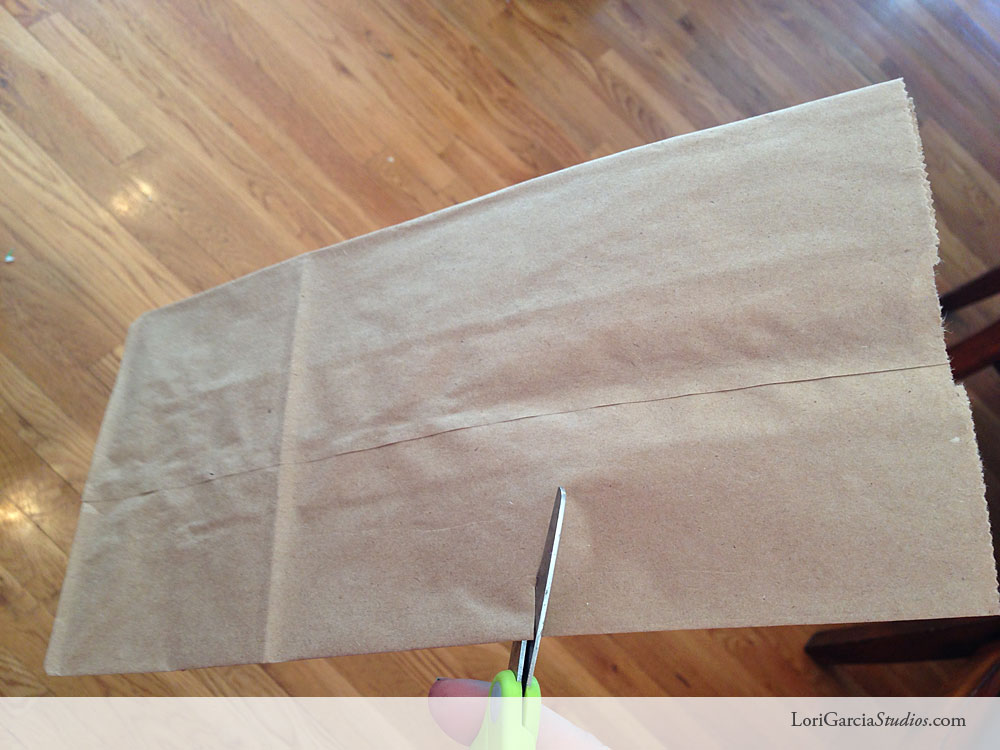
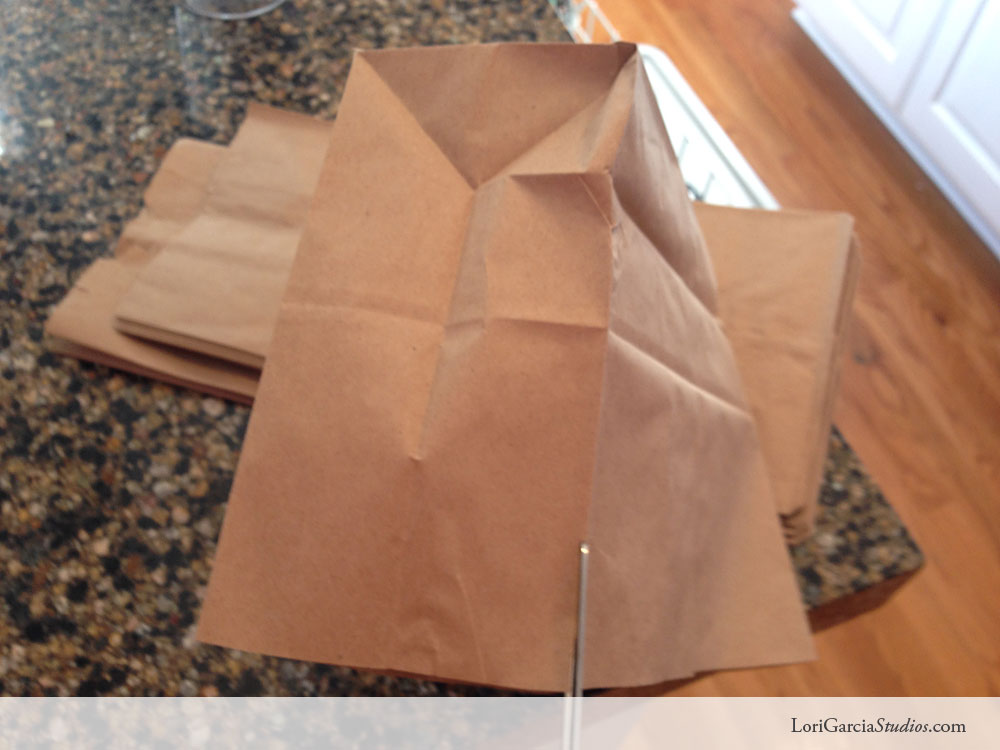
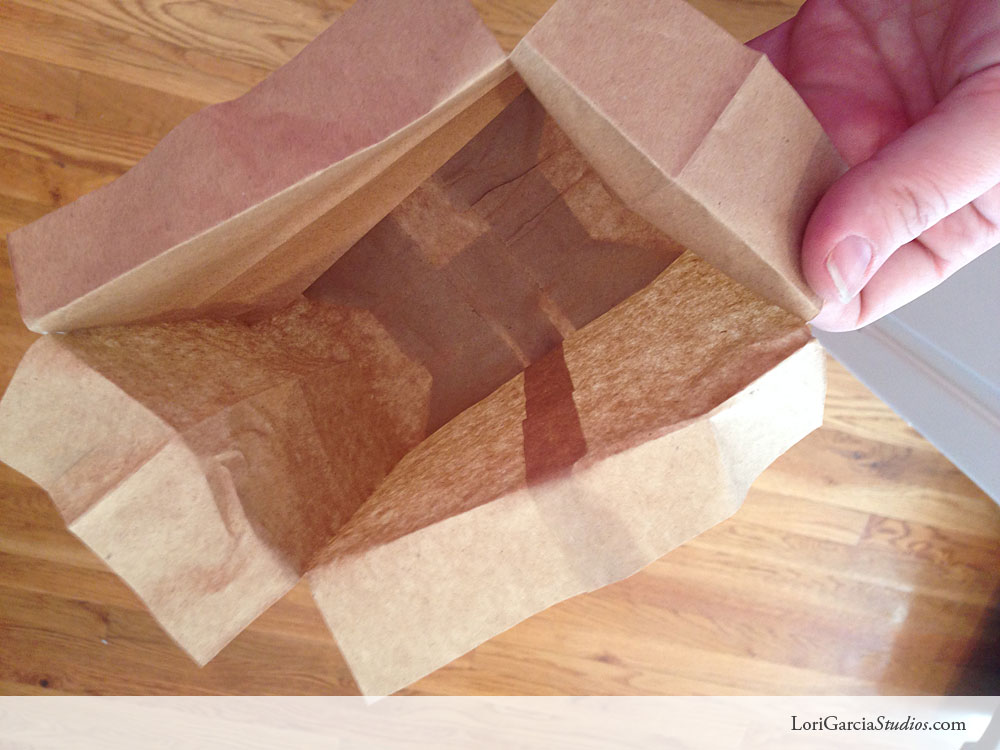
4. Cut paper lunch sacks down to about 1/2 their height. Cut 1-inch slits in all four corners of the top and bend back the top edges about 1 inch. Place a small toy or treat inside and carefully tape the edges to the back of the tissue paper with generous amounts of tape. When I did this punch board I used packing tape, but now I usually just use scotch tape.
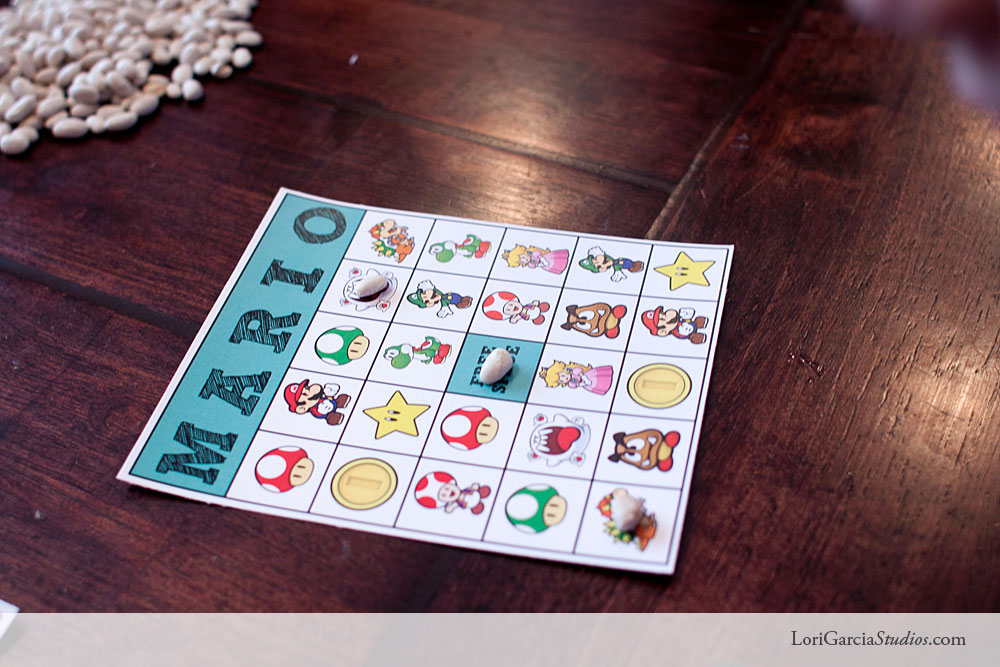
Mario Brothers Bingo Game Free Printable
Bingo is a favorite game of mine and my children. The kiddos at our party really loved playing a Mario-themed bingo game. Download the free printable for this party and it includes several different bingo cards. Grab some beans to use as markers, and you’re ready to go.
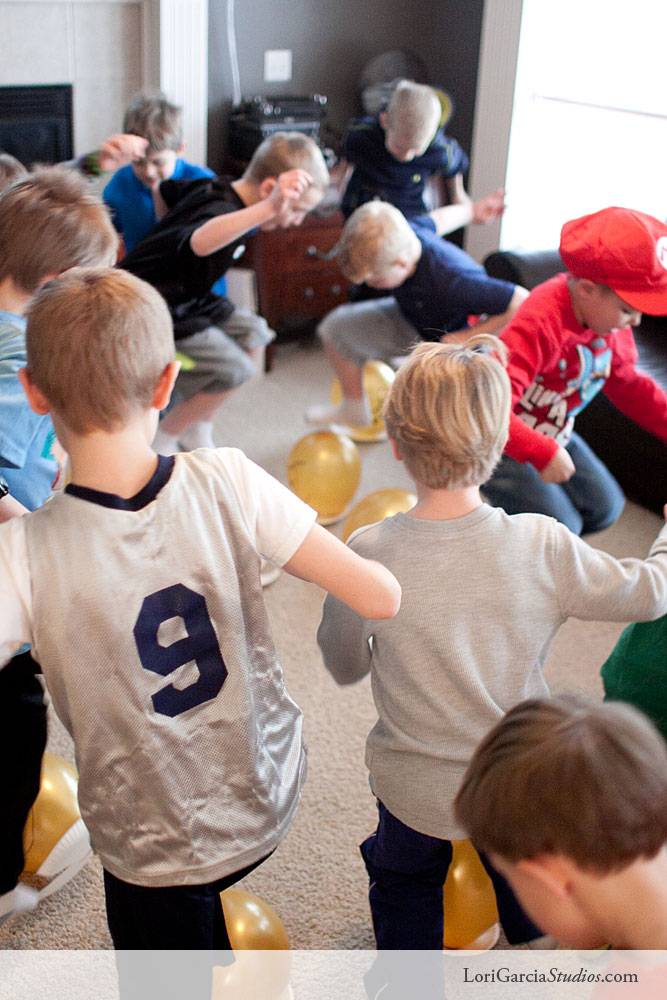
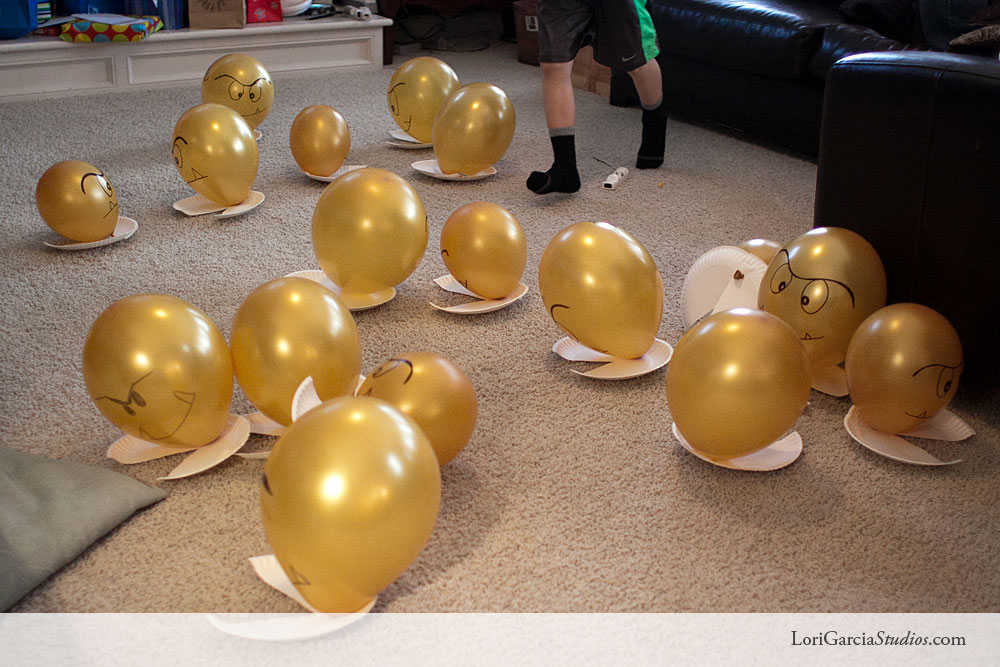
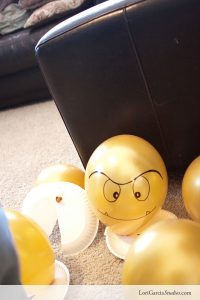
Stomp the Goomba
This was a quick, inexpensive game that the boys loved. Just draw faces on gold balloons, cut up some paper plates, tape them to the balloons, and you’re done. Gotta love a few simple games to compliment the more complicated.
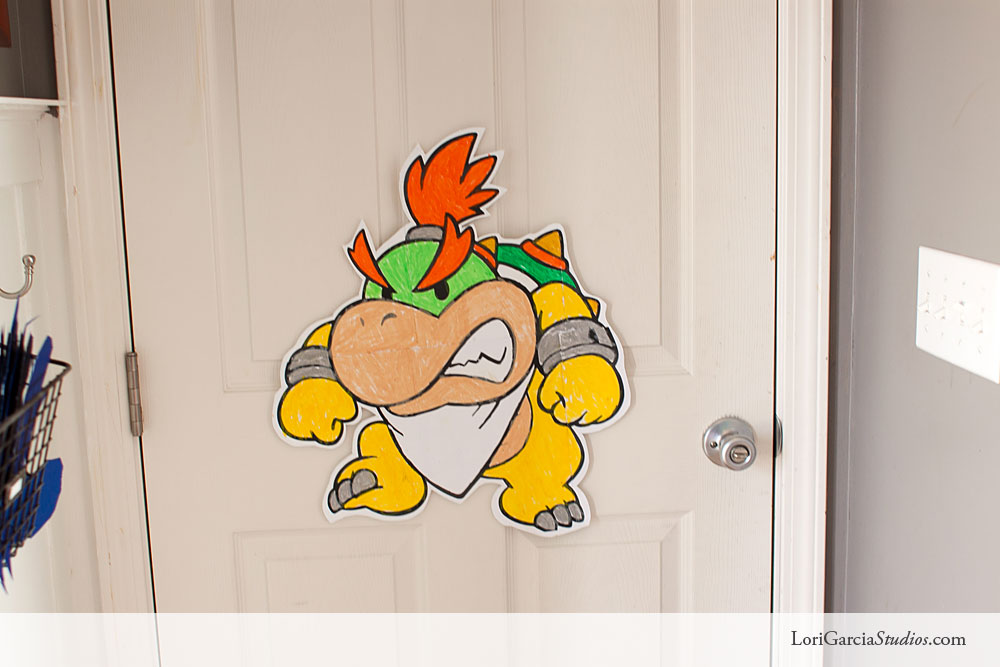
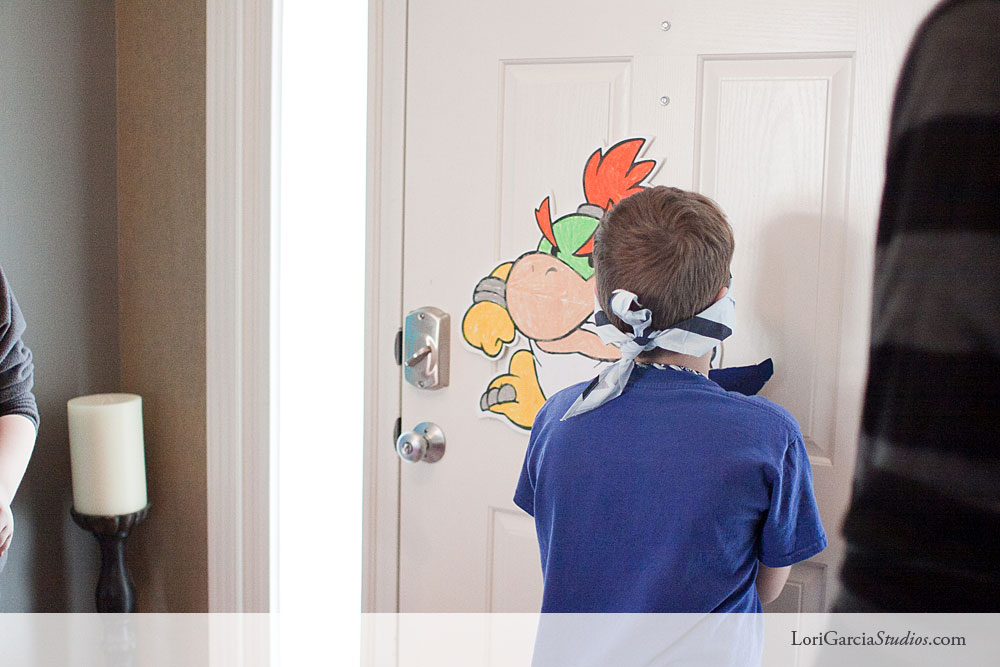
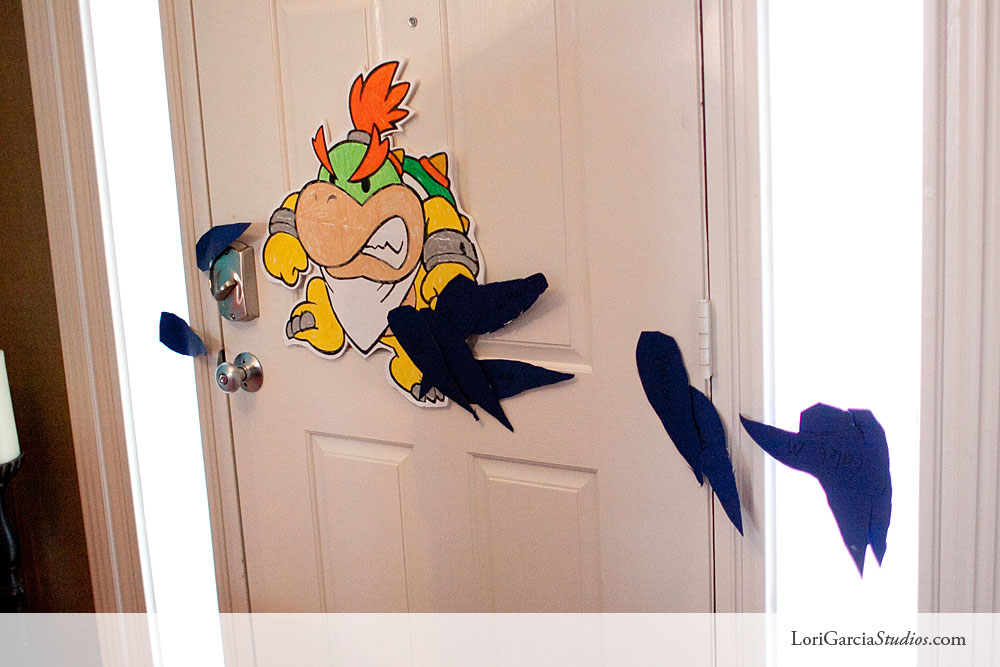
Pin the Tail on the Bowser?
This is another fairly, simple game. Find a large image of Bowser online and print it off at a large print shop, or on your home letter-sized printer, by tiling it and then adhering it together. We printed our at home in black and white to save money and then cut the pieces out and tiled them together on foam core. We used our hot knife to cut it out and then colored it with oil pastels. Then we made tails for him out of card stock for the kids to “pin on.”
Party Food
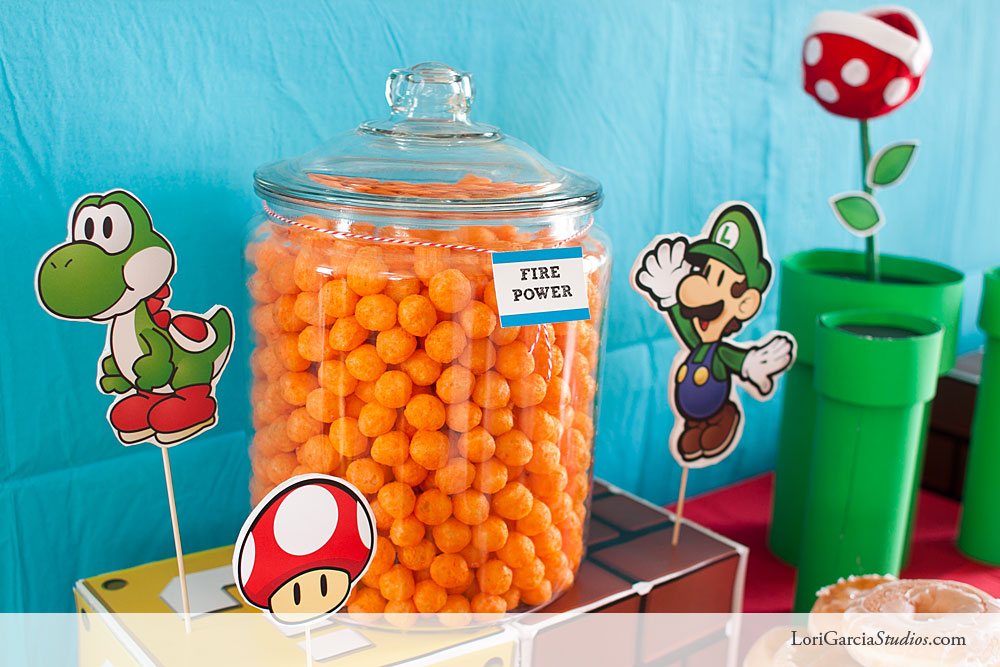
Parties would be nothing without food. For this party we used simple, store-bought food and dressed it up with labels that reinforced our theme. Crunchy, cheese-flavored Fire Power anyone? You can print and use the labels in our free downloadable Mario Brother’s Packet.
Fire Power Cheese Puff Balls
When are cheese puff balls not really cheese puff balls? When their incorporated into a birthday theme, of course. These cheese puff balls are to represent the fire power Mario and friends get to shoot at the bad guys. These are fun party favorite, but make sure your guest wash their hands after lunch 🙂
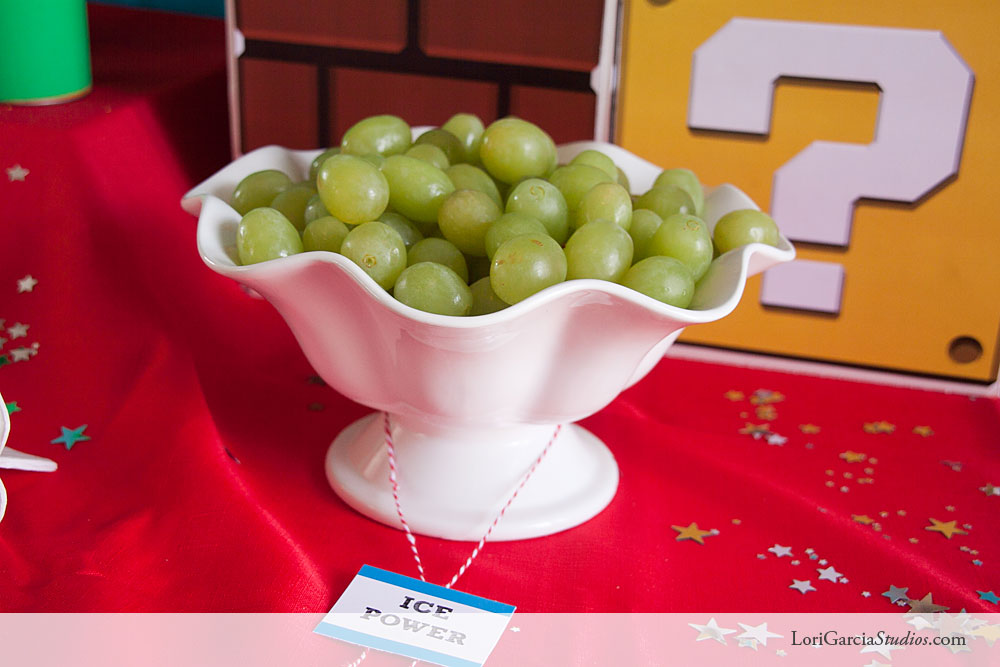
Ice Power
You can’t have fire power without ice power! We chose grapes for the job because their a fruit most kids will actually eat and they are almost round.
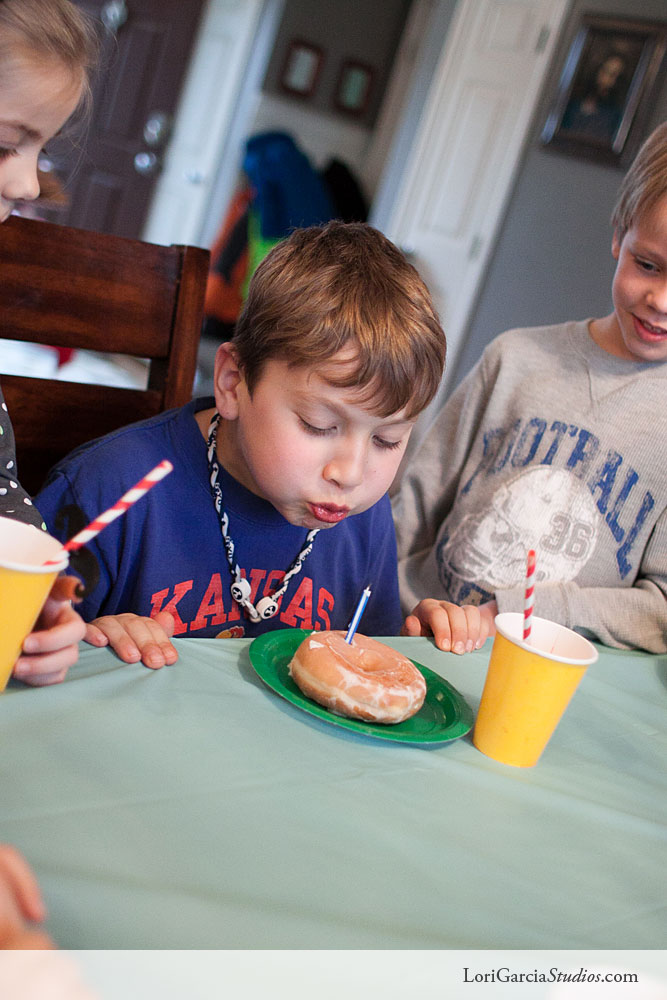
Ghostly Donuts
Okay, so these are kind of a stretch, but what kid doesn’t like donuts? My youngest is especially a fan, so when he asked for donuts instead of cakes, cookies or cupcakes, I thought, “Why not?!” They turned out to be a big hit, but like our friends the cheese puff balls, I mean “fire power,” they do create some messy hands, so make sure you get those kids to the sink after the meal!
Make Your Own Pizza
Mario Brothers are Italian, right? We had a make-your-own-pizza buffet with flour tortillas as our base — just like the real Italians…I’m kidding…they don’t use tortillas, but we sure did. We were baking them in the oven, but the kids were too impatient, so we wound just nuking the rest of them in the microwave. The boys folded them up into a pizza-burrito hybrid, and didn’t mind a bit.
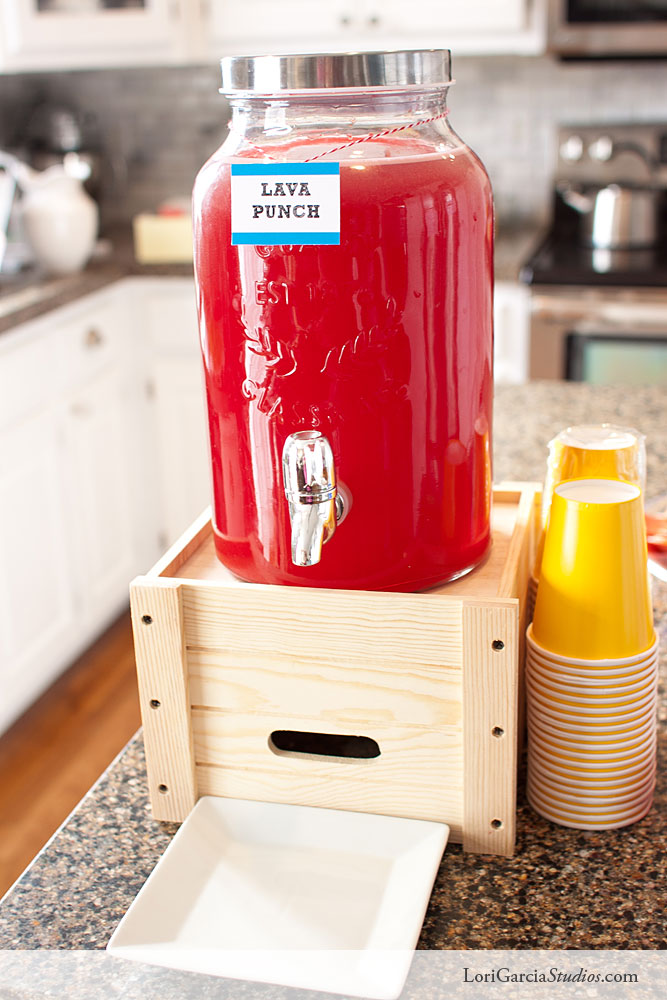
Red Lava Punch
Fruit-punch became our “red lava punch” and the boys enjoyed it, almost as much as I enjoyed watching their Kool-aid smiles appear.
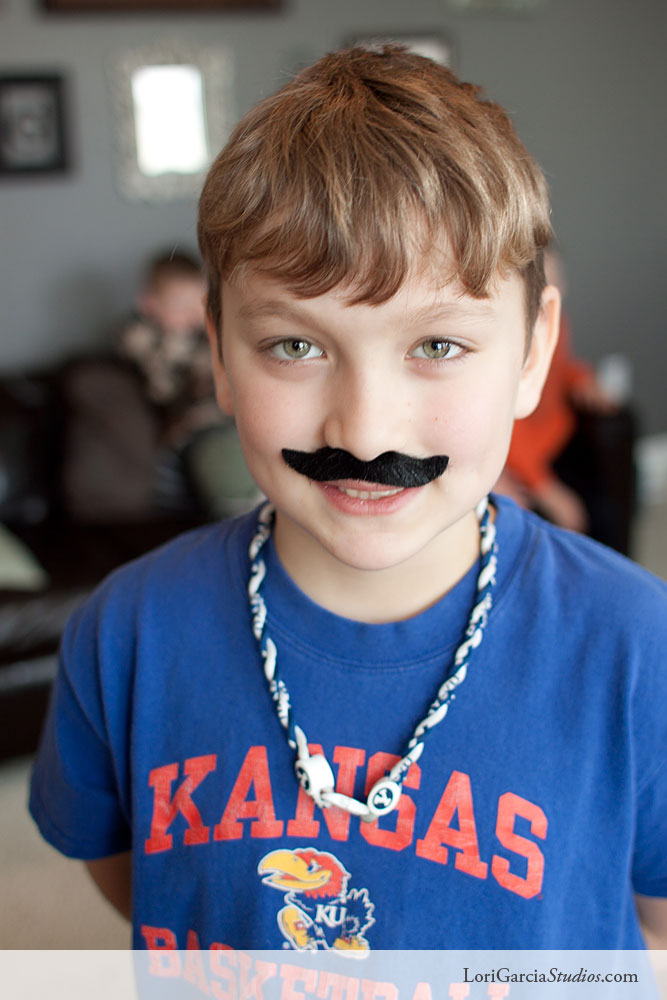
I think these crazies had a good time. I almost forgot to mention these cute sticker mustaches I found as party favors. Aren’t they fun? We also sent them home with the candy they won in the punch board game and a Mario Brothers bookmark. The bookmarks are included in the free printable.
Have you done a Mario Brother’s Party? Share your ideas with us. We’d love to hear them!