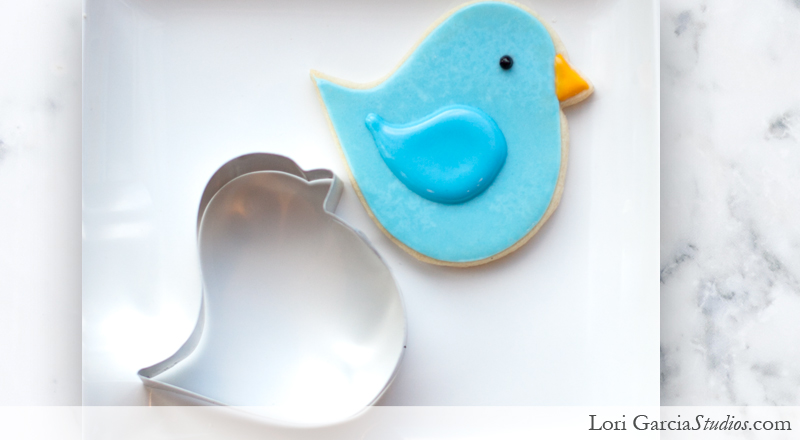
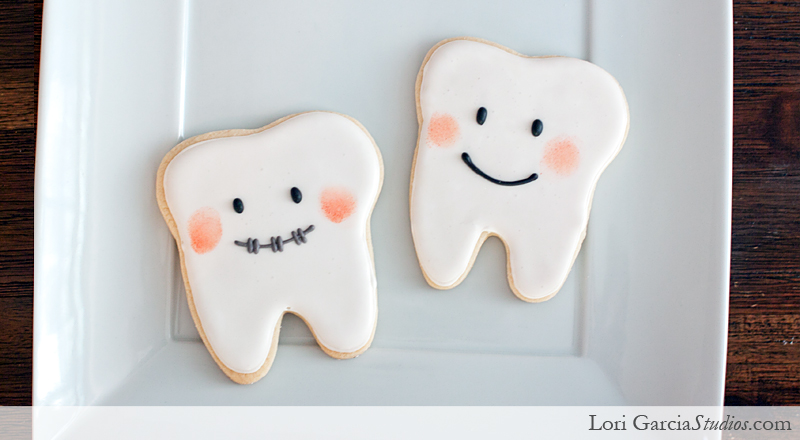
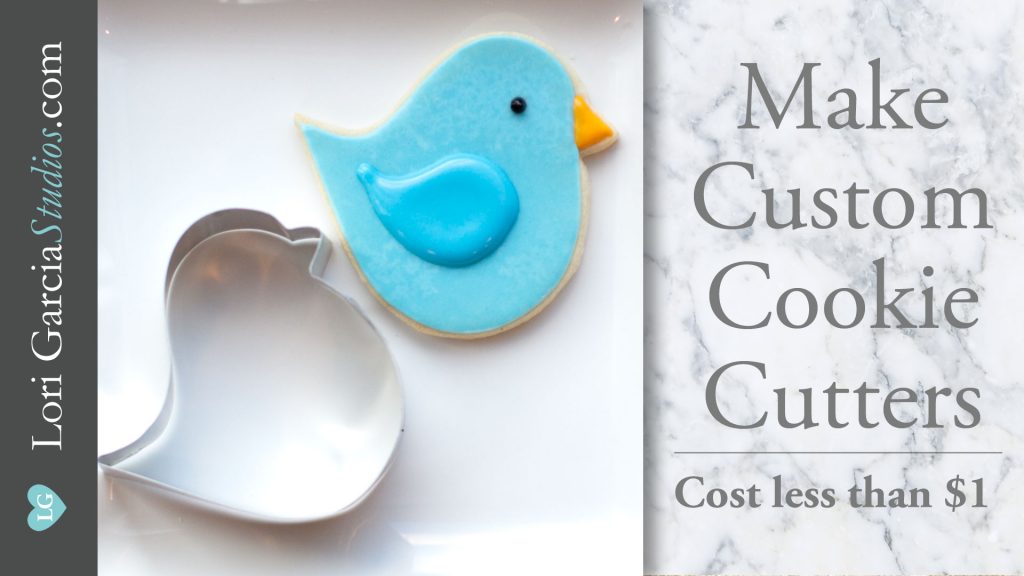
Once you start making sugar cookies, you might find that you never have enough cookie cutters. You might even find that it’s midnight and you need a tooth cookie cutter and you can’t wait the two days for Amazon to ship it to you. Or, you may want a custom cookie cutter that doesn’t exist — like one for our local LDS temple. What’s a girl to do? Why, make your own, of course! Making your own cookie cutter is a fun project that allows you flexibility of getting the shape you want on your own time frame. Join us as we learn how to easily make our own custom cookie cutters.
What You'll Need
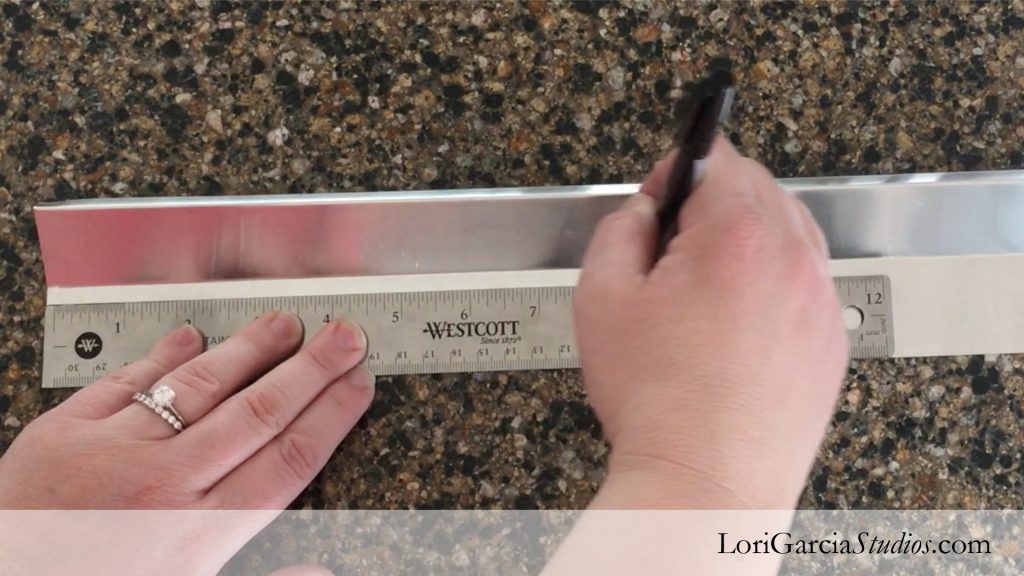
– Aluminum flashing (from a hardware store, like Home Depot. Make sure it isn’t coated with any chemicals. If it’s shiny, it usually doesn’t have a coating. Ask a worker if you have questions. There are shorter pieces of flashing, but non are this thin. The thicker kind makes it harder to bend smoothly.)
– Needle nose pliers, jewelry-sized (the ones I’m using are smaller ones from the jewelry section of the craft store. This set has an extra long nose.)
– template, drawing or photo, or use the bird template I used
– scotch tape
– craft scissors
– ruler
– twine or string
Directions
1. Flatten the flashing with your hands.
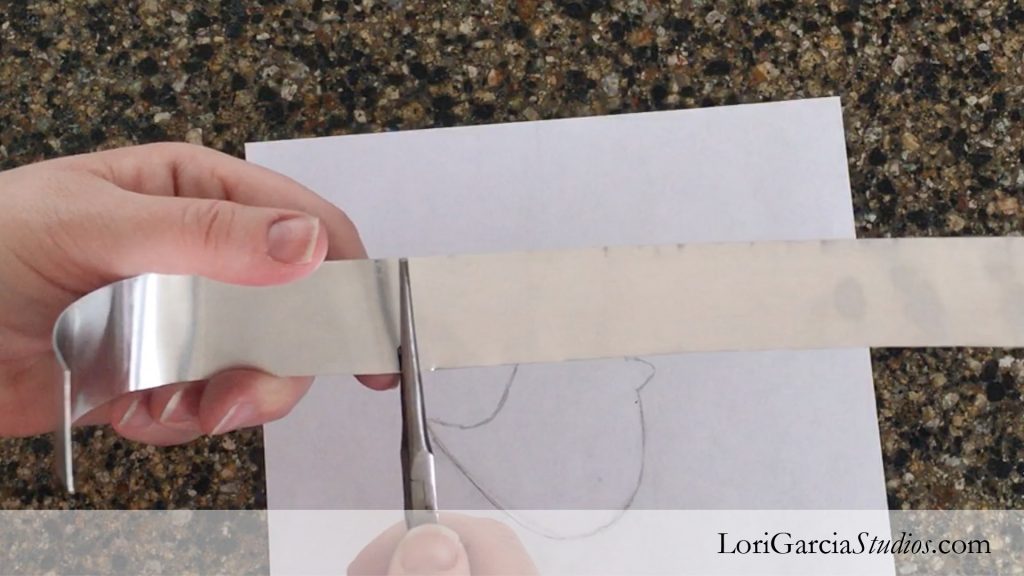
2. Then, line up your ruler with the edge, and trace it down the entire length.

3. Using craft scissors, cut all the way down the flashing. This may be a little tricky, but it’s totally doable. CAUTION: The edges — especially the edge you cut — can be sharp. Please be careful.
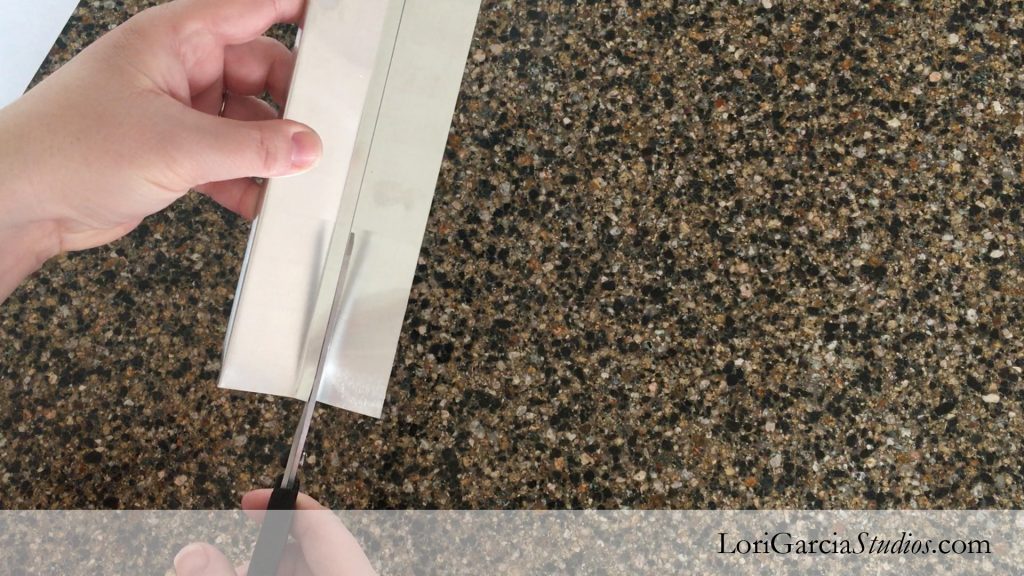
4. Once you finish cutting the strip, inspect it for any rough edges, and trim accordingly.
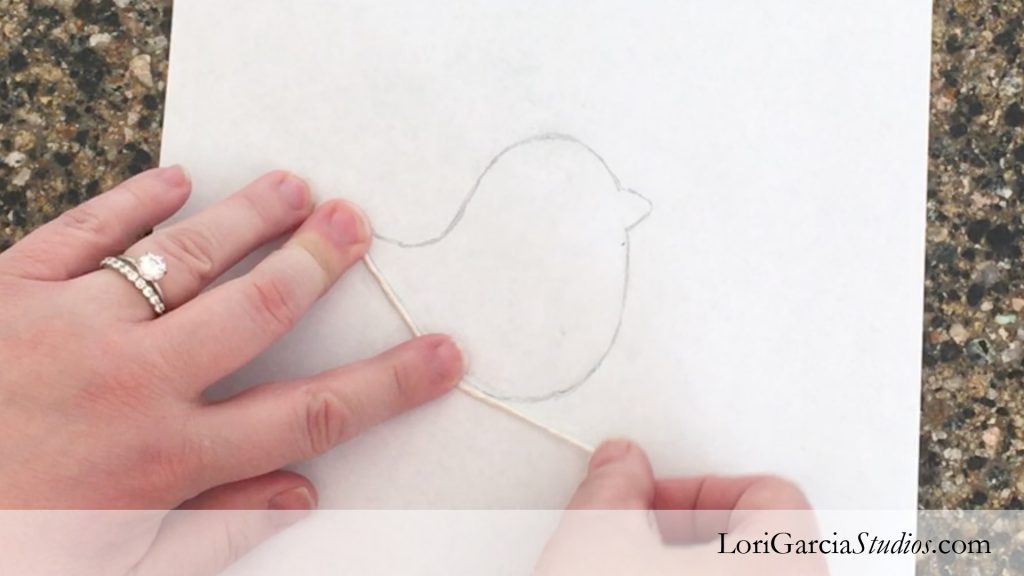
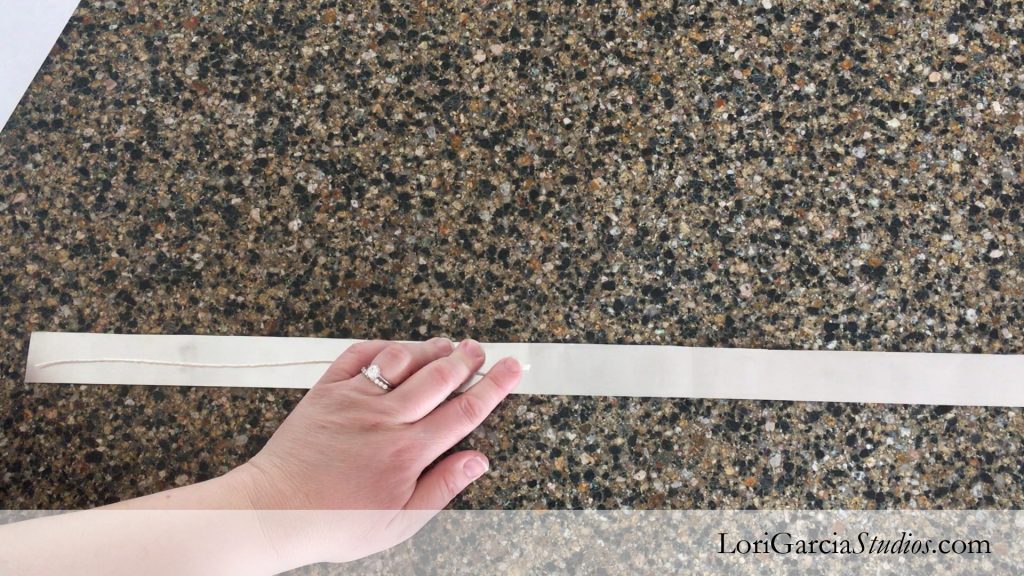
5. Next, use the twine to measure around the perimeter of the template. You’ll do this to determine the amount of aluminum strip you’ll need. Then take the twine and measure it against the strip. I always allow for a little bit more…just in case. Note, you’ll need it to be a little bit longer than the actual perimeter because you’ll need to overlap the strip when you secure it.
6. Now it’s time to mold the strip around the template. Find the edge that you cut and make sure it’s facing down towards the paper. It will be sharper than the commercially-cut edge and you don’t want to cut yourself when you make cookies.
7. First find the straightest edge of the perimeter. You’ll want to do this because when you finish your cookie cutter and have to overlap the ends, it’s easier to do so on a straight piece.
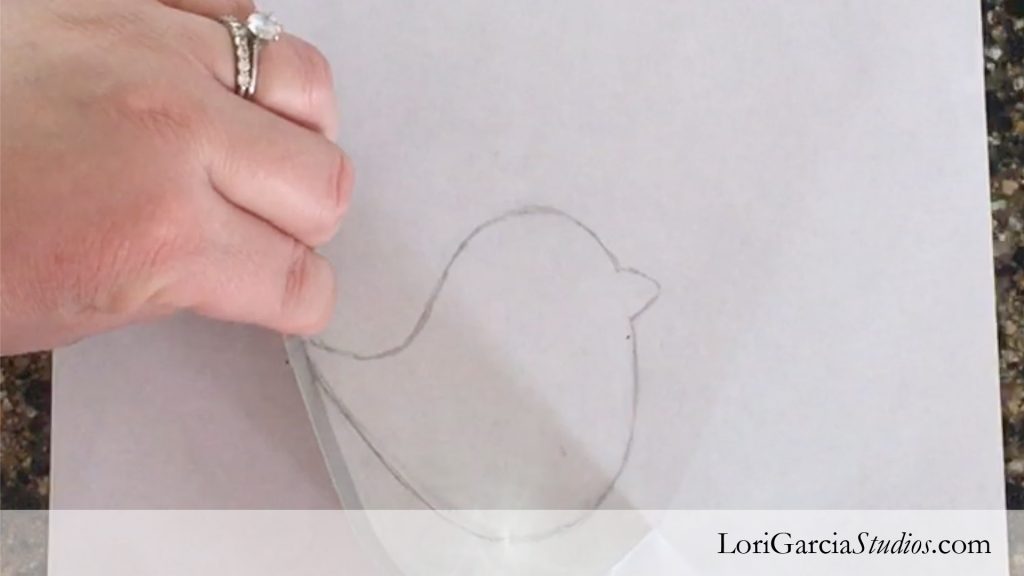
8. Hold the strip to the edge of the template and slowly bend it as you go. Make sure to keep checking your strip against the template to ensure you’re keeping the right shape.
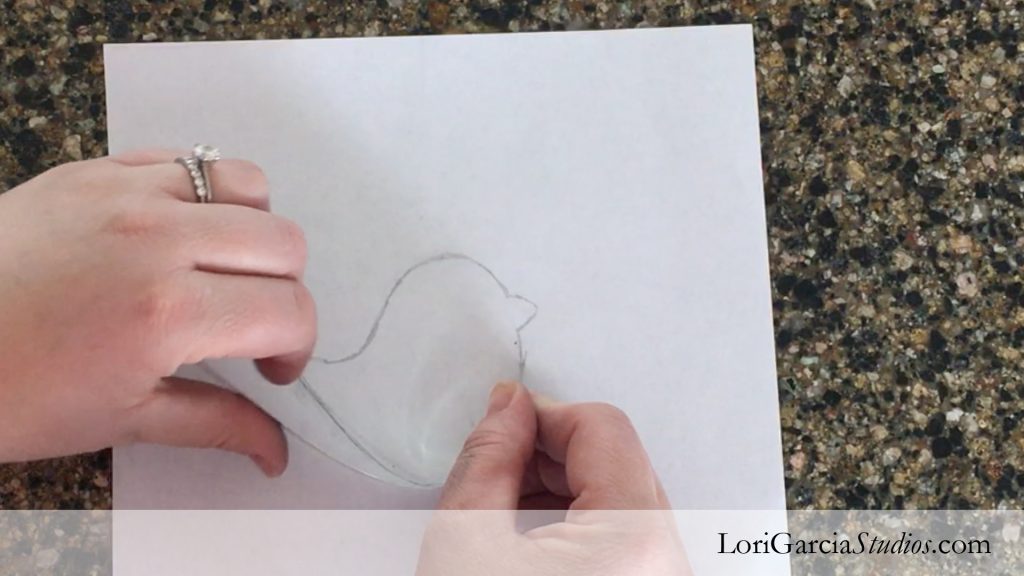
9. Now we’re getting to our first angle. Holding the strip against the template, mark it where the end of the bird starts to angle upwards. I like using this thin sharpie because its writes well on the aluminum. This is what it looks like when you mark it. Pay attention to which direction you are going to bend it. These strips are pretty thin, making it easy to get the shape you want, but it doesn’t like to be bent back and forth more than once — It tends to break.
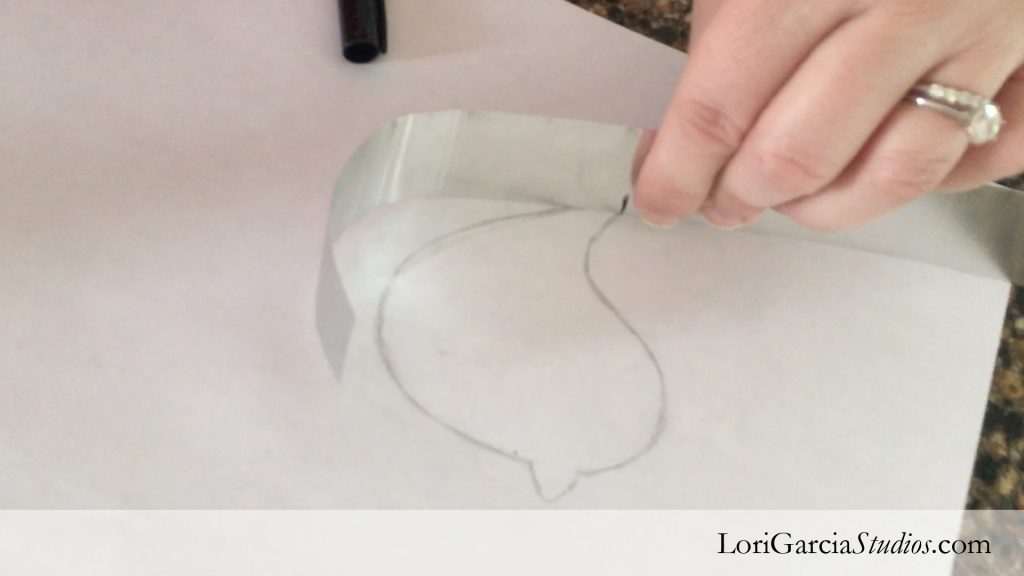
10. Grab our needle nose pliers and clamp along the line you just made. I’ve found the best way to bend these strips is fast and hard — it creates the best angles. Don’t be shy, just bend it. If you make a mistake, it’s not a huge deal, since the flashing is so inexpensive. If you want, you can practice making angles on scrap pieces before you start making your first cookie cutter.
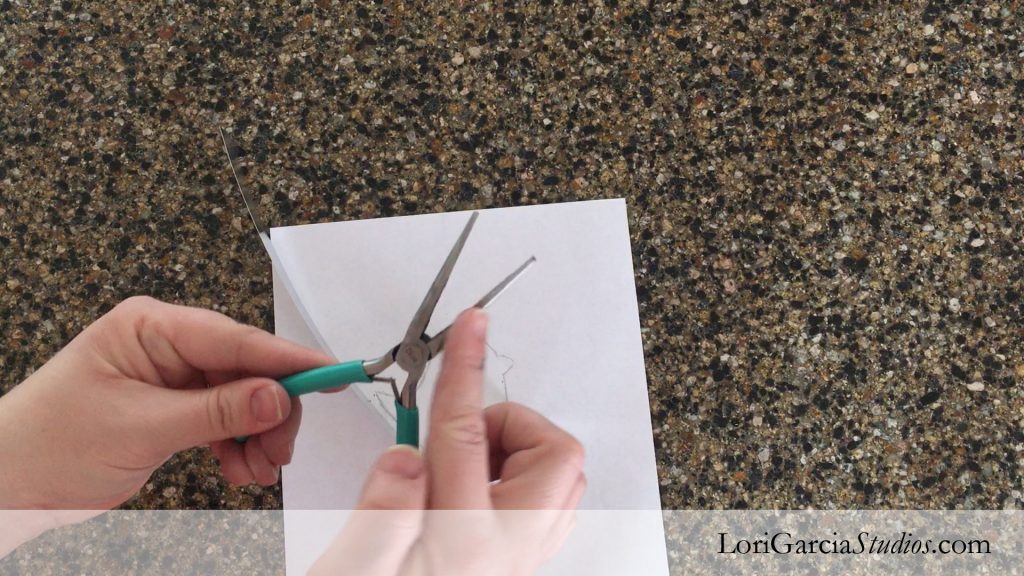
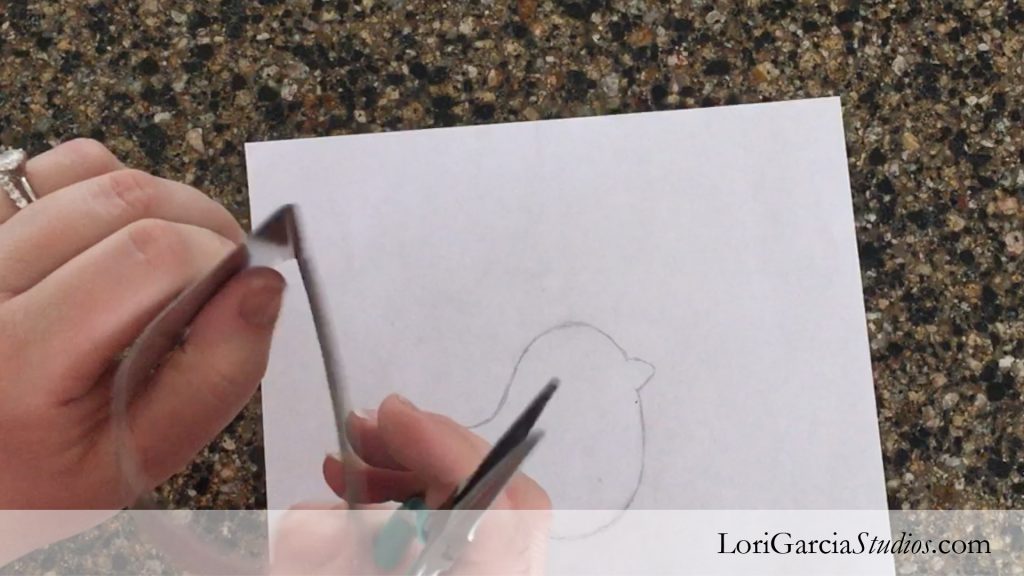
11. Once you’ve made your angle, check your cutter with your template and see if you need to make that angle wider or narrower. Here we need to make it a bit more narrow. After you get it to the right angle, you may want to crimp it a little bit to get it just right.
12. Measure your cutter against your template again and start curving the strip up the bird’s back. Continue on till you finish the its head.
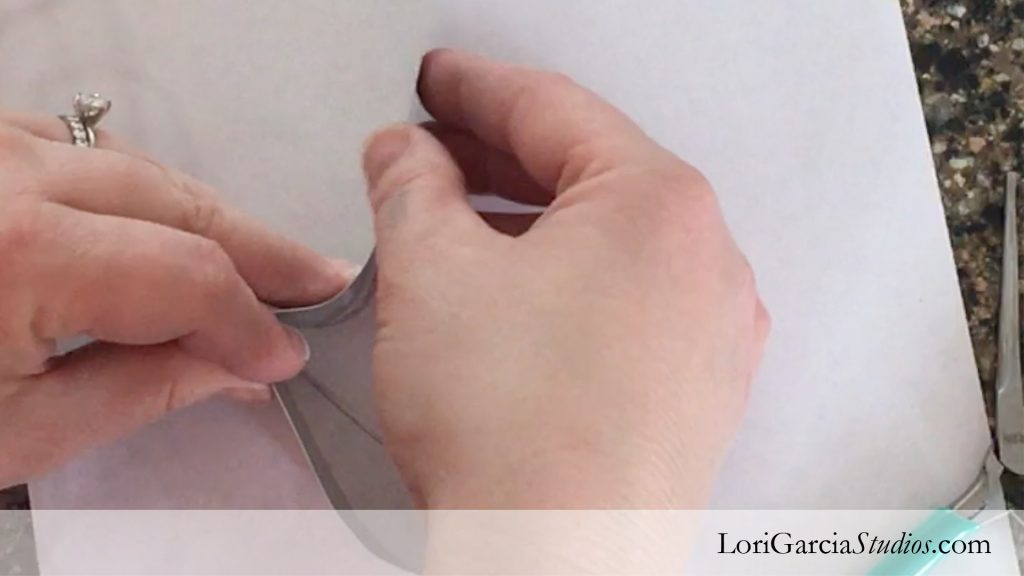
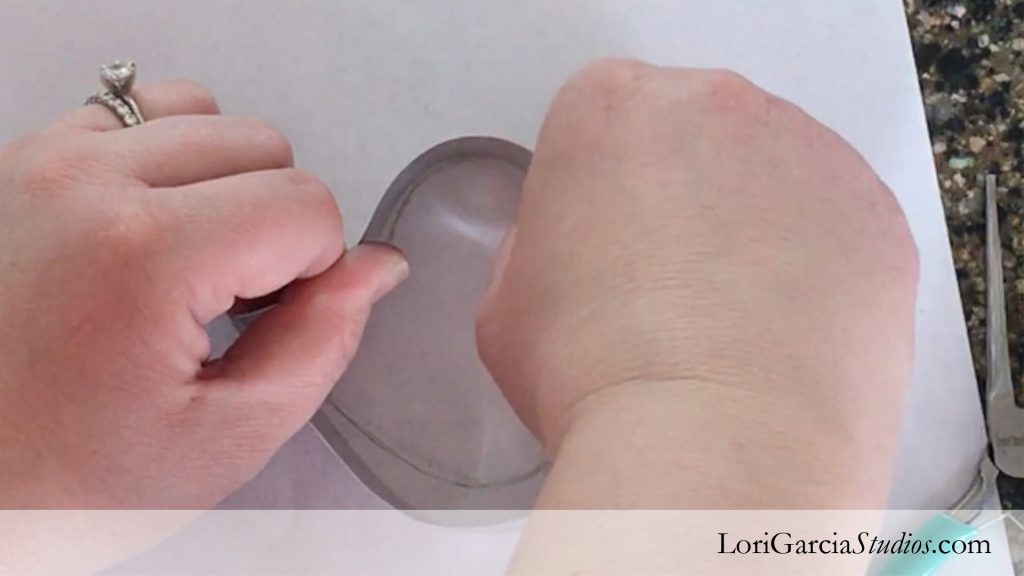
13. Once you finish the bird’s head, you’re coming up to another sharp angle for the beak. Like the first angle, make sure to mark the cutter with a marker.
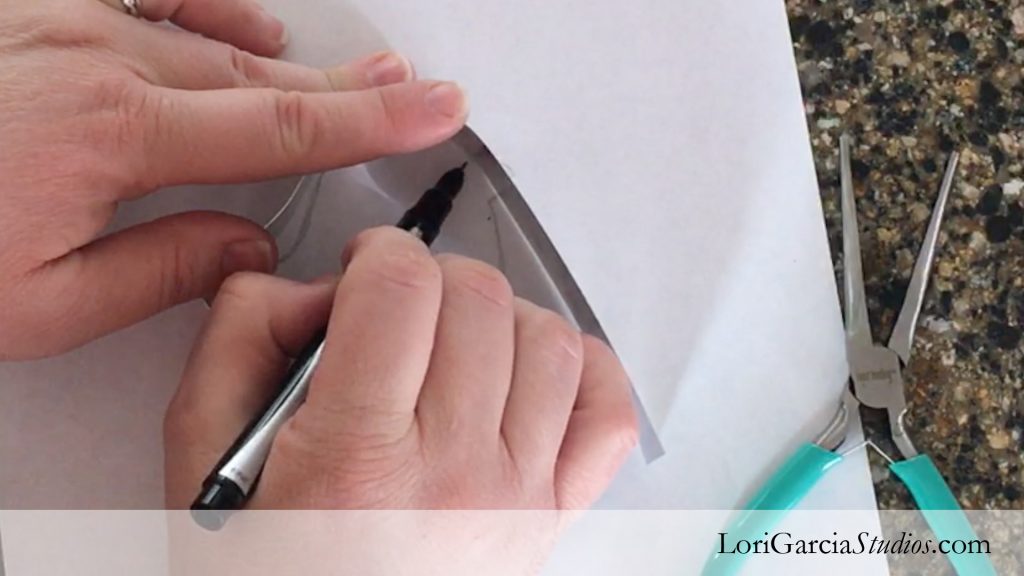
14. Place the needle nose pliers again at the marking and make a nice, sharp bend. Compare it again to your template and make any adjustments.
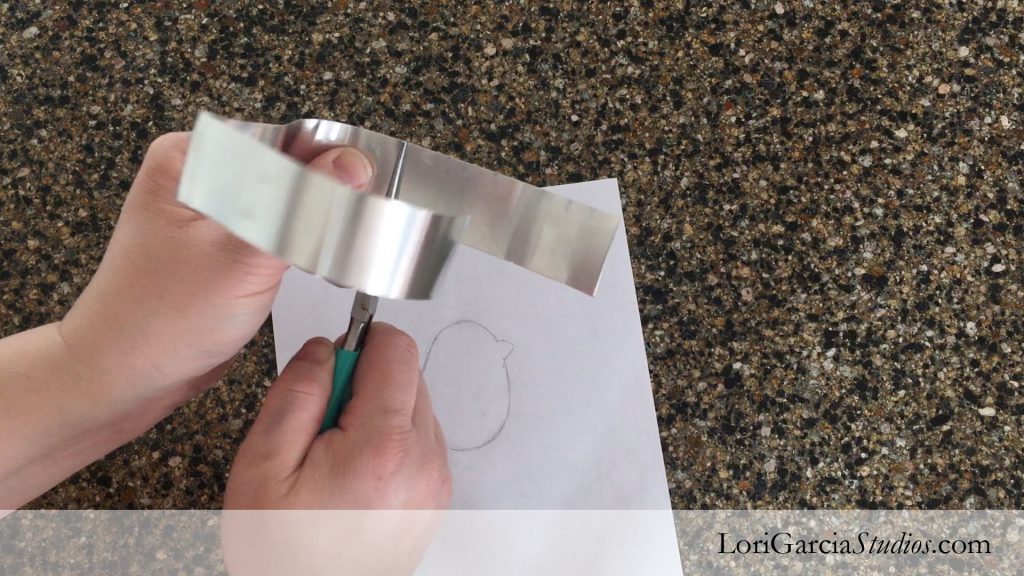
15. You’ll make another two angles to finish the beak. You can always fine tune the shape later, but try to get it pretty close. Now that you’re close to finishing, it begins to be a little tricky to get your cutter to match up in all parts of the template. Don’t worry, once you’ve completed your template, you’ll be able to fine tune it.
16. When you’ve completely gone around your template, you’re almost done. Make sure to continue past the beginning about a quarter of an inch.
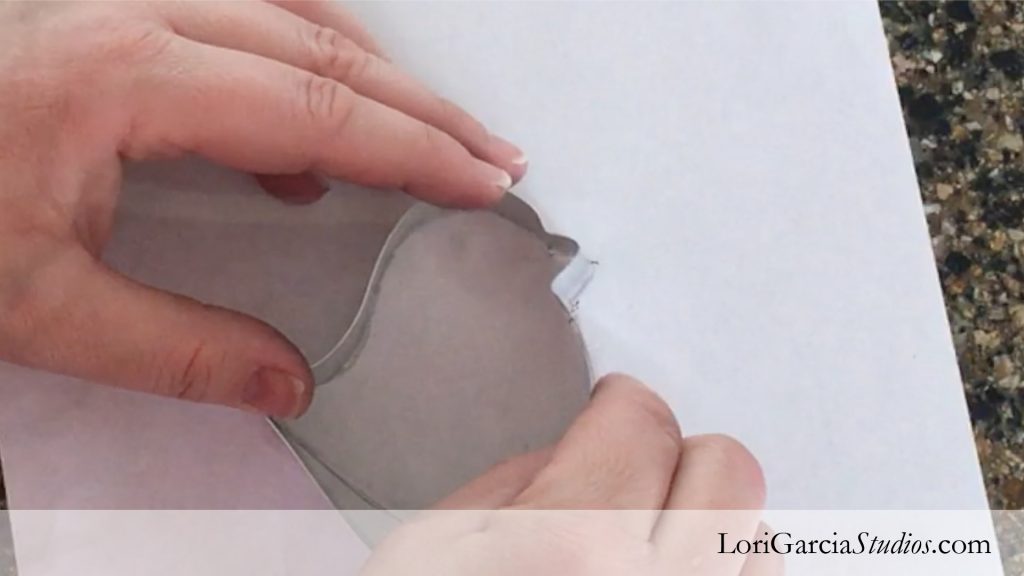
17. Fastening your cookie cutter is pretty easy. All you need to do is line up the edges and place a piece of scotch tape around the seam. I remember when I first heard that you seal your cookie cutter with scotch tape. I didn’t think it would be permanent enough. A lot of experts swear it’s a long-term option and that it’s even washable. Since I’ve been making these for a few months, I haven’t had any problems. Besides, if you ever do need to replace the tape, well, that’s an easy fix.
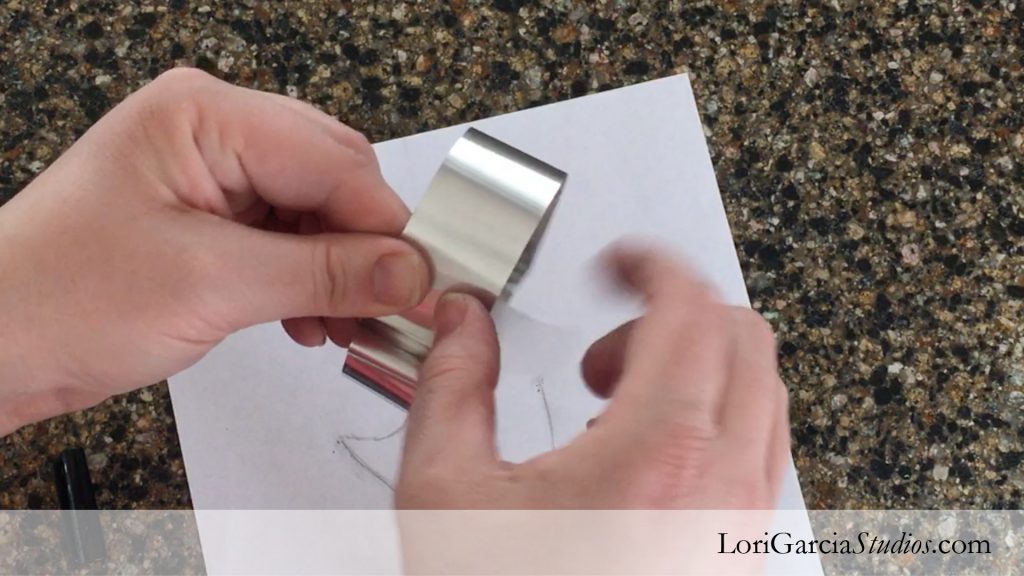
18. And there you have it. A cookie cutter you made all by yourself. Practice does make perfect. You’ll love being able to create any cookie cutter you want on a whim. See how far your imagination takes you!.
